
Are you looking to streamline the process of collecting files from your Elementor upload form? Look no further! In this article, we’ll show you how to leverage the incredible features of the Elementor upload form feature, to create an impressive file upload form that meets all your requirements.
Imagine effortlessly collecting resumes for a job opening, gathering images from clients for a design project, or even receiving important documents securely from your website visitors. With Elementor’s user-friendly interface and extensive customization options, you can create a visually stunning and highly functional file upload form that perfectly matches your website’s style.
But that’s not all! We’ll take it further and introduce you to the wonders of Google Drive integration (Google Drive file upload). No more worrying about storage limitations or losing valuable data.
Are you ready to take your file upload game to the next level? In this guide, we’ll walk you through the step-by-step process of creating a file upload form using Elementor.

Create File Upload Form in Elementor
Creating a file upload form in Elementor is easy. But keep in mind that you won’t be able to implement this feature in the FREE version. You need Elementor PRO to enjoy this feature. So, make sure you have the PRO version subscription.
Step 1: Create a New Page or Edit an Existing Page with Elementor
- Go to “Pages” in your WordPress dashboard.
- Select the page where you want to add the file upload form or create a new page.
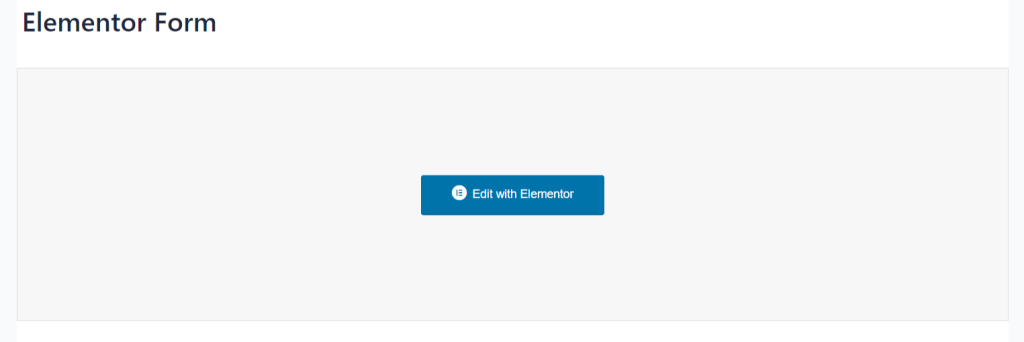
- Click on “Edit with Elementor” to launch the Elementor page builder interface.
Step 2: Drag and Drop the Form Widget
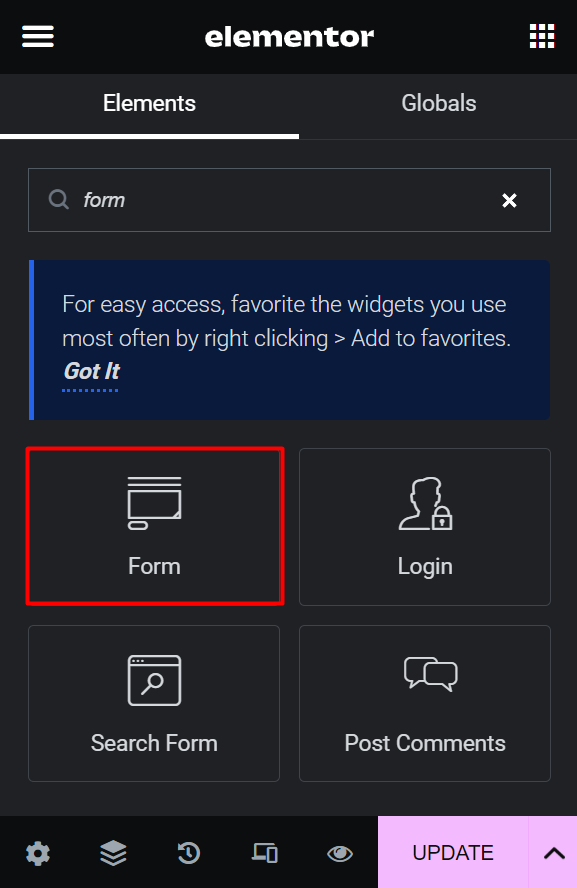
- In the Elementor editor, search for the “Form” widget on the left-hand panel.
- Drag and drop the “Form Widget” onto the page canvas.
Step 3: Customize the Form Fields
- Once the form widget is added, you can customize it by clicking on it.
- In the left-hand panel, you will find various options to configure the form fields.
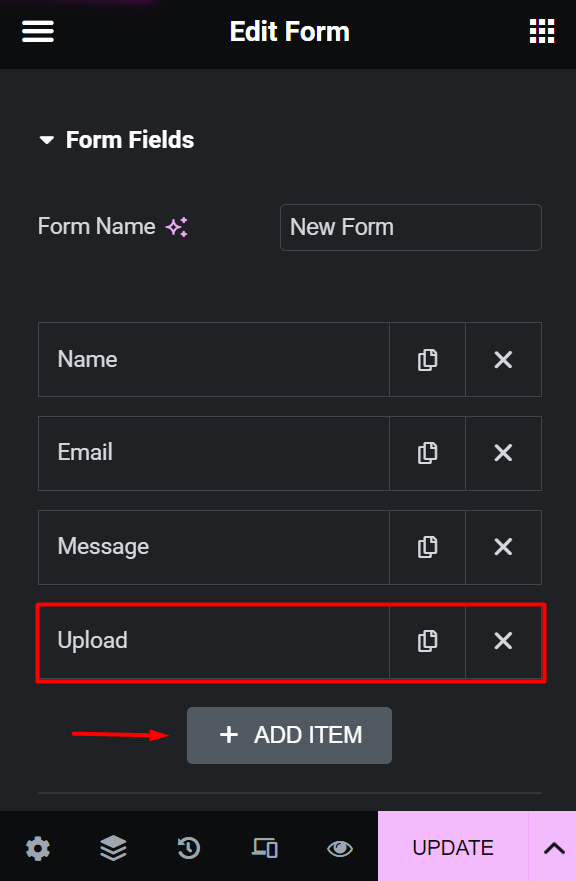
- Add the necessary fields such as name, email, subject, and message.
- To add the file upload field, click on the “+” button below the form fields and select “File Upload.”
Step 4: Configure the File Upload Field
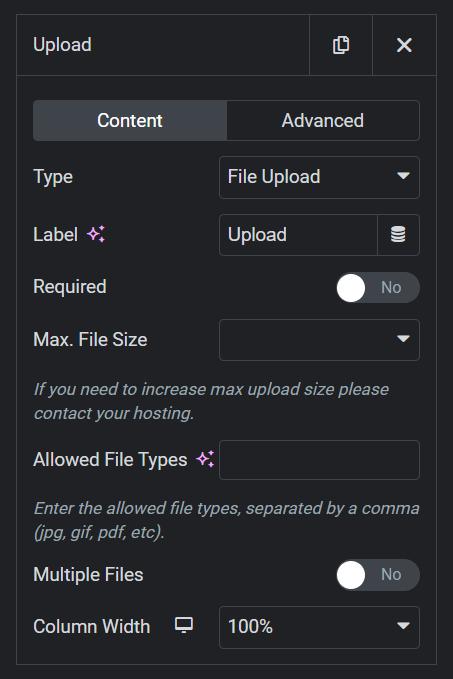
- After adding the file upload field, you can customize its settings.
- Specify the accepted file types, maximum file size, and any additional validation requirements.
- Optionally, you can set a limit on the number of files that can be uploaded.
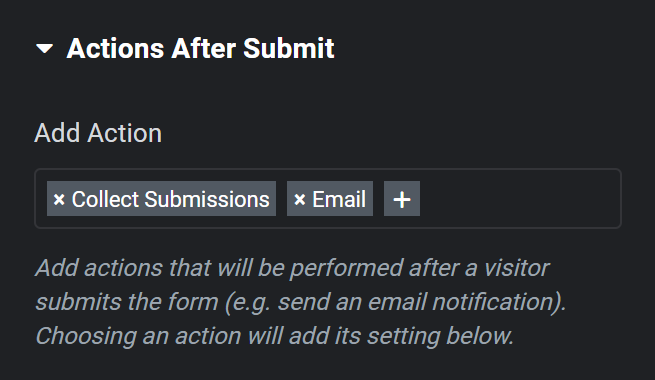
Step 5: Set Up Form Actions
- In the left-hand panel, under the “Actions After Submit” section, choose what happens after the form is submitted.
- You can select options like displaying a success message, redirecting to a specific page, or sending an email notification.
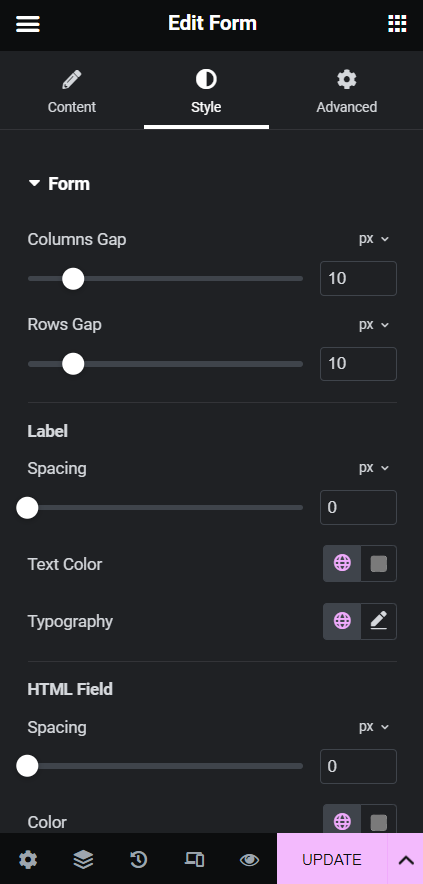
Step 6: Style and Design the Form
- Click on the “Style” tab in the left-hand panel to customize the form’s appearance.
- Modify colors, typography, alignment, and spacing to match your website’s design.
- Take advantage of Elementor’s extensive styling options to create a visually appealing form.
Step 7: Publish and Test
- After customizing your form, click on the “Publish” button in Elementor.
- Preview the page to ensure that the file upload form looks and functions as expected.
- Test the form by submitting a file and verifying it is successfully uploading the file(s).
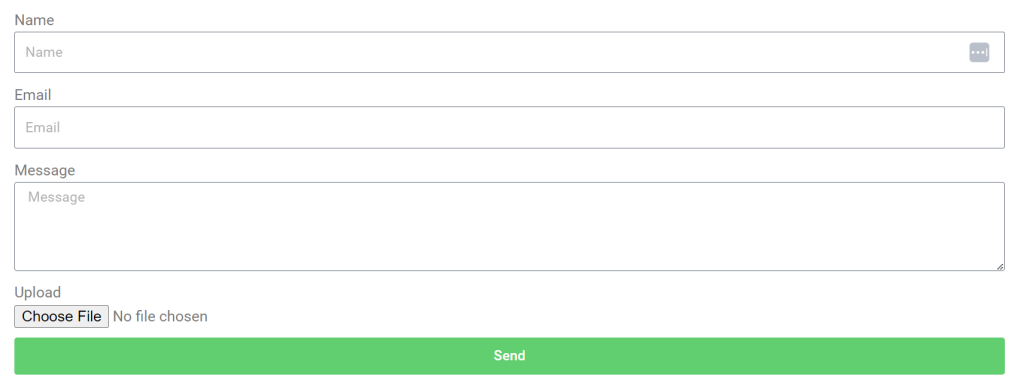
Congratulations! You have successfully created a file upload form in Elementor. Now you can collect files from your website visitors effortlessly and securely.
Create Google Drive File Upload Form in Elementor
What if you can store your uploaded files inside your Google Drive account? That would be great right? Well, it will secure your files, and also save your hosting spaces. Below we have discussed how you can set up all those things easily.
Step 1: Install & Activate Necessary Plugins
- Ensure Elementor PRO and Integrate Google Drive PRO plugins are installed and activated in your WordPress dashboard.
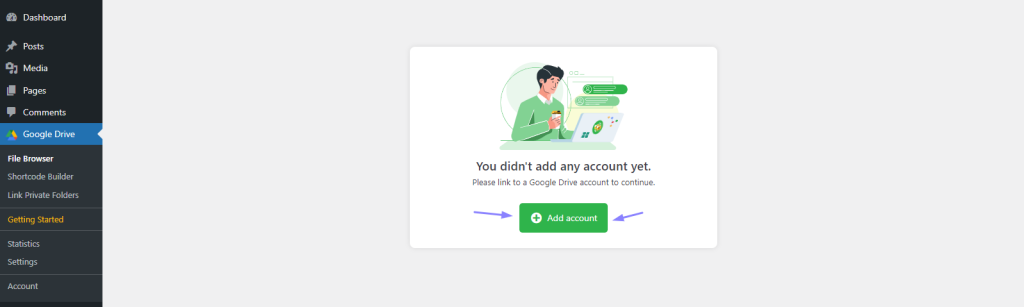
Step 2: Connect Google Account
- Navigate to Google Drive > Settings > Accounts > Add New Account.
- Connect your preferred Google Account for storing uploaded files.
Step 3: Enable Elementor Form Integration
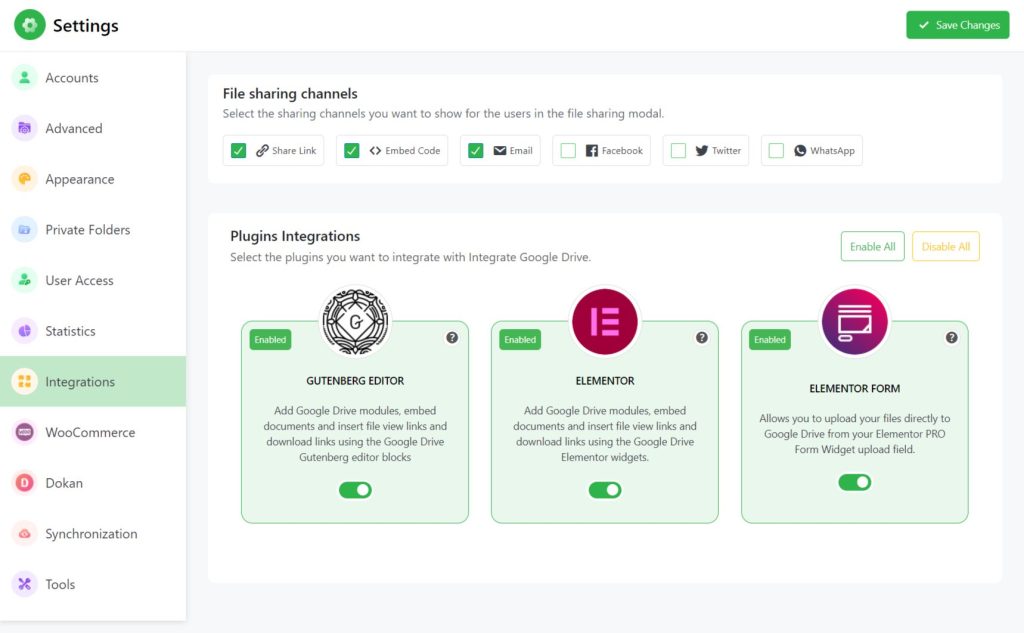
- Go to Google Drive > Settings > Integrations.
- Enable Elementor Form integration to enable the Google Drive Upload field.
Step 4: Add Google Drive Upload Field
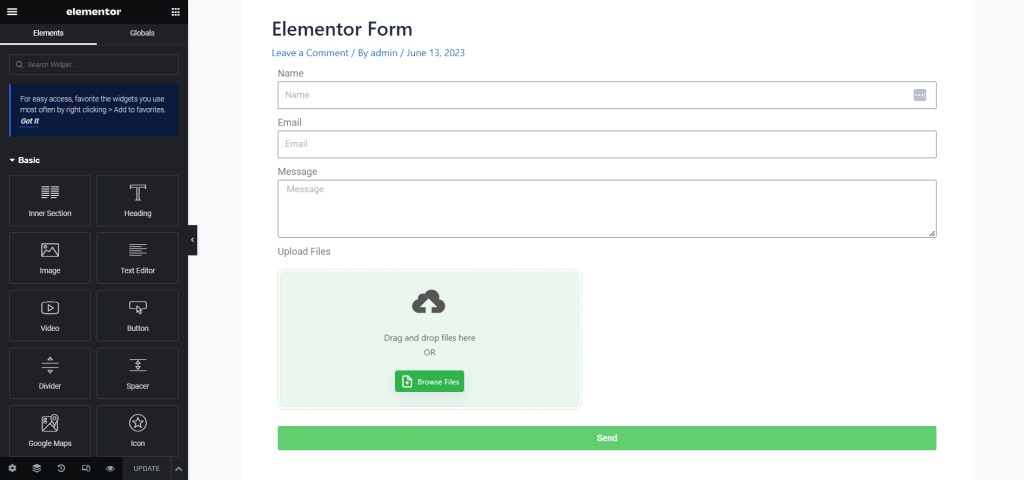
- On any page or post, add the Elementor form widget.
- Inside the form widget, add a new item and change its type to Google Drive Upload.
Step 5: Configure Google Drive Upload Field
- Click on Configure and select the folder for storing uploaded files.
- Customize options such as Create Entry Folders, Filters, Advanced Settings, and others.
- Save changes after customization.
Congratulations! You have now successfully created a Google Drive file upload form in Elementor. Now your uploaded files will be stored inside your Google Drive account.
Elementor Upload Field vs Google Drive Upload Field
When it comes to creating file upload forms in Elementor, you have the option to choose between the built-in Elementor Upload Field and the Google Drive Upload Field provided by the Integrate Google Drive PRO plugin. While both options allow users to upload files, there are significant differences between them in terms of functionality and storage.
Let’s compare these two upload field options in a detailed comparison table:
| Elementor Upload Field | Google Drive Upload Field | |
| Integration | Native to Elementor | Requires to Integrate Google Drive PRO plugin |
| Storage Location | Server hosting of the website | Google Drive |
| Storage Capacity | Limited by server space | Limited by Google Drive storage space |
| File Upload Size Limit | Limit provided by Server | Limit provided by you manually |
| File Management | Basic file management features | Extensive file management capabilities provided by Google Drive |
| File Security | Depends on website security measures | Google Drive’s robust security measures |
| Version Control | Not available | Version control available in Google Drive |
| Advanced Functionality | Limited functionality beyond basic file upload | Integration with Google Drive API, allowing for advanced features |
| Customization | Limited customization options | Customizable folder structure, naming conventions, and file validation |
It’s important to consider your specific requirements and priorities when choosing between the Elementor Upload Field and the Google Drive Upload Field.
The Elementor Upload Field offers simplicity and basic file upload functionality within your website’s server, while the Google Drive Upload Field leverages the power and versatility of Google Drive for storage, file management, collaboration, and enhanced security.
Elementor Upload Field or Google Drive Upload Field: Which is Better?
When considering whether the Elementor Upload Field or the Google Drive Upload Field is better for your needs, it’s important to evaluate them from different perspectives.
Let’s explore each option in detail to help you make an informed decision:
Functionality
The Elementor Upload Field offers basic file upload functionality directly to your website’s server. It is suitable for simple file uploads and straightforward file management needs.
On the other hand, the Google Drive Upload Field leverages the robust capabilities of Google Drive. It provides advanced file management features, including version control, collaboration, and synchronization across devices. From a functionality standpoint, the Google Drive Upload Field offers a more comprehensive and versatile solution.
Storage and Capacity
With the Elementor Upload Field, the files are stored on the server hosting your website. The storage capacity is limited to the server space allocated to your website.
On the contrary, the Google Drive Upload Field utilizes Google Drive as the storage location. Google Drive offers ample storage space, which can be particularly beneficial for websites dealing with large files or requiring extensive storage. If you anticipate significant file storage requirements, the Google Drive Upload Field provides a better solution.
File Management and Collaboration
The Elementor Upload Field provides basic file management features, allowing users to upload files and access them as needed. However, it lacks advanced file management functionalities such as version control and collaborative editing.
In contrast, the Google Drive Upload Field integrates with Google Drive, offering robust file management capabilities. Google Drive enables version control, real-time collaboration, file sharing, and synchronization across devices. If you require advanced file management and collaboration features, the Google Drive Upload Field is the superior choice.
Security
When it comes to filing security, the Elementor Upload Field’s level of security depends on the overall security measures implemented on your website.
On the other hand, Google Drive incorporates robust security measures to protect your uploaded files. Google Drive implements encryption, access controls, and redundant backups to ensure the security and integrity of your files. If data security is a priority, the Google Drive Upload Field provides enhanced protection for your files.
Access Control and Sharing
The Elementor Upload Field limits access to uploaded files to website administrators only. It lacks the flexibility to grant specific access permissions to individuals or groups. In contrast, Google Drive offers configurable access controls, allowing you to grant access to specific users or collaborate with others.
Additionally, Google Drive provides a range of file-sharing options, making it easier to share files with external parties. If you require granular access control and extensive sharing capabilities, the Google Drive Upload Field is the preferable option.
Considering these different perspectives, the Google Drive Upload Field emerges as the better choice for most scenarios. Its advanced functionality, ample storage capacity, comprehensive file management features, enhanced security measures, and flexible access controls make it a powerful tool for managing and sharing files.
However, if your requirements are limited to basic file uploads and straightforward file management, the Elementor Upload Field can still serve your needs effectively. Assess your specific needs and priorities to determine which option aligns best with your website’s objectives.
Conclusion
Now it’s up to you which one you are going to pick for file uploading via Elementor Form. It totally varies from person to person depending on what they are asking for. And of course, so on goes to you as well. Implement both of the methods and consider which one will be the most working for you.
Hope this article got you everything covered you actually needed. Feel free to ask any question in the comment section. Our expert will shortly reach you and answer your question.
No Comments yet!
Leave a reply