


Picture this: You have an invaluable collection of memories, an extraordinary project, or a game-changing business proposal that you’re eager to share with the world. There’s just one problem – the sheer size of your file is holding you back.
But fear not, for I have the key to liberating your data and unleashing its potential. Welcome to the gateway of limitless storage and unrivaled convenience – Google Drive!
Whether you’re a digital nomad, a creative genius, or a data aficionado, this comprehensive guide will unveil the secrets to effortlessly uploading those colossal files into the cloud.
So, grab your digital compass, and let’s navigate through the realm of uploading large files to Google Drive, where your ambitions will soar higher than ever before!
Way-1: Upload from Google Drive Website
Uploading large files to Google Drive is a breeze when you take advantage of the powerful features available on the Google Drive website. With a few simple steps, you can effortlessly transfer your files to the cloud, ensuring easy access and secure storage.
Let’s dive into a detailed step-by-step guide on how to upload large files to Google Drive using their website.
Step-1: Sign in to Google Drive
- Open your preferred web browser and navigate to the Google Drive website (drive.google.com).
- Sign in with your Google account credentials. If you don’t have an account, create one by clicking on “Create account” and following the instructions.
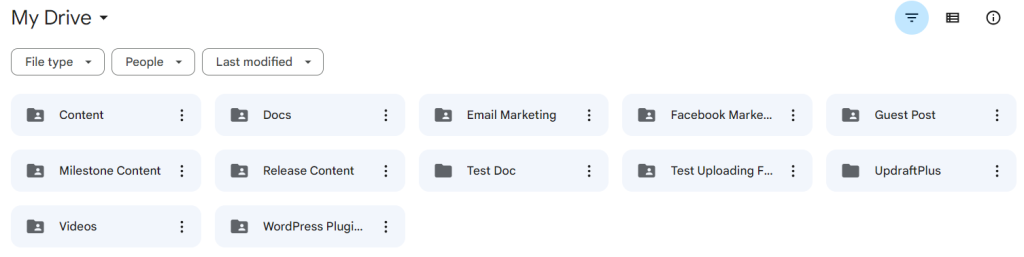
- Once signed in, you’ll be directed to the Google Drive main page.
- If you already have files and folders in your Google Drive, you can organize them for better management.
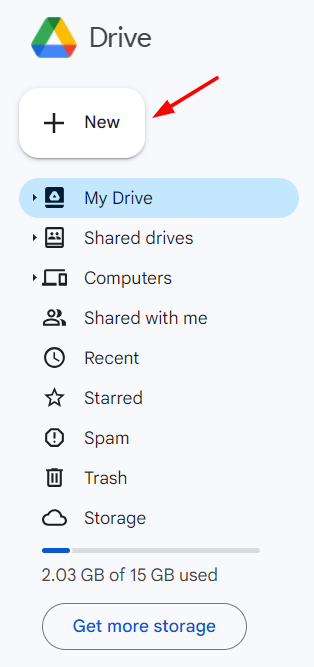
Step-3: Click on the “+ New” button
- Locate the “+ New” button on the left-hand side of the Google Drive interface.
- Click on it to reveal a drop-down menu.
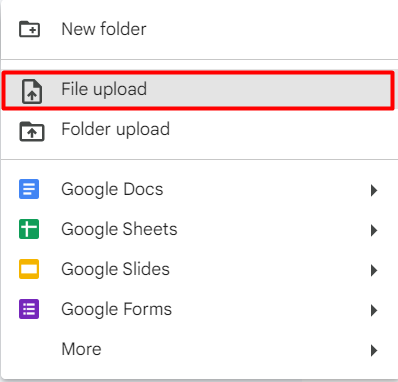
Step-4: Choose “File Upload”
- From the drop-down menu, select “File Upload” by clicking on it.
- A file explorer window will appear, allowing you to browse your computer’s files.
Step-5: Locate and select the large file
- Use the file explorer window to navigate to the location on your computer where the large file is stored.
- Select the file by clicking on it once, and then click on the “Open” button. The selected file(s) will start uploading.
Congratulations! You have successfully uploaded a large file to Google Drive using the website. Now you can enjoy the benefits of secure cloud storage, easy accessibility, and seamless collaboration. Repeat these steps whenever you need to upload more large files and enjoy the convenience that Google Drive offers.
Way-2: Upload from Google Drive Desktop App
Introducing the second powerful method to upload large files to Google Drive: The Google Drive Desktop App. When it comes to effortlessly sync and uploading files of any size, this application stands out as your ultimate solution. Let’s dive in and unlock the potential of hassle-free file transfer!
Step-1: Download and install Google Drive Desktop App
- Visit the Google Drive website (https://www.google.com/drive/download/) and click on the “Download” button.
- Follow the instructions to download and install the Google Drive Desktop App on your computer.
- Sign in to the app using your Google account credentials.
Step-2: Open Google Drive Application
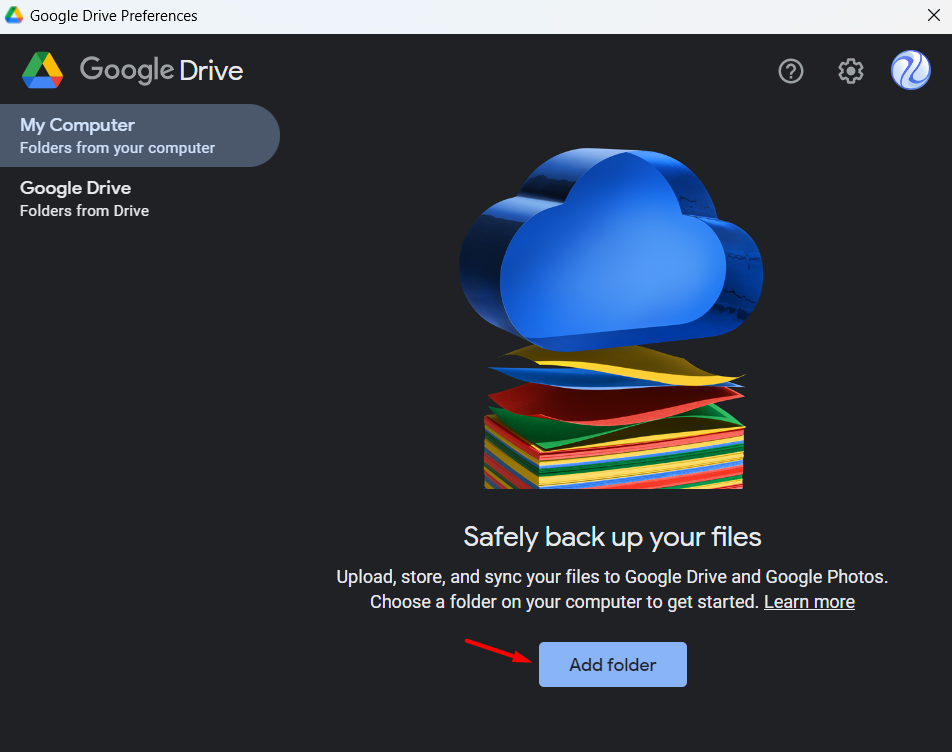
- Once the Google Drive Desktop App is installed and running, it might ask you to create a folder. Click on “Add Folder” to create a new folder.
- Locate and open this folder. It is usually found in the default file directory, such as “Documents” or “Home.”
Step-3: Prepare the large file for upload
- Locate the large file you want to upload to Google Drive on your computer.
- Ensure that the file is ready and accessible for upload.
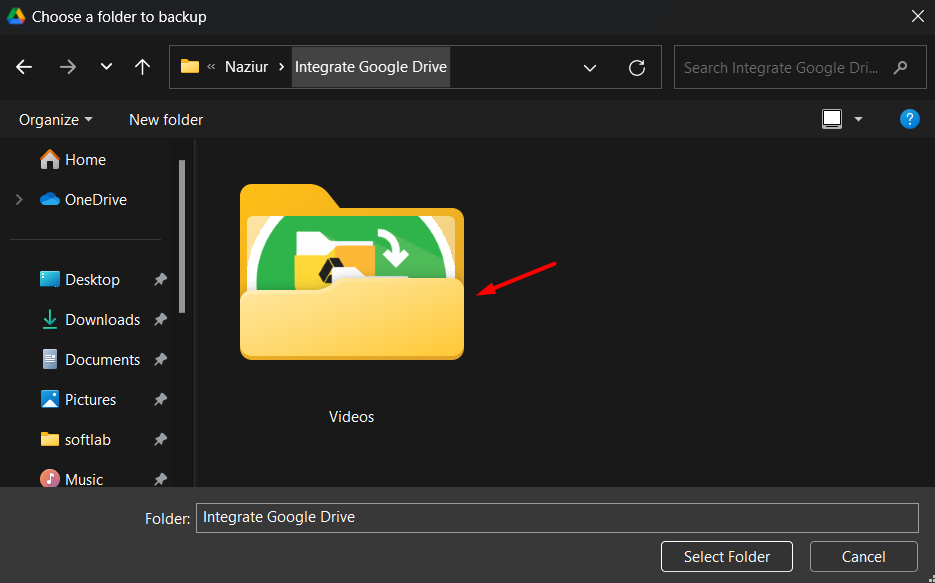
Step-4: Locate the file into the Google Drive Application
- Click and hold the large file, then drag it into the open Google Drive folder.
- Release the mouse button to drop the file into the folder.
Step-5: Monitor the upload progress
- The Google Drive Desktop App will automatically detect the file drop and start uploading it to your Google Drive.
- You can monitor the upload progress through a small window or notification provided by the app.
From now on, you can upload multiple large files to Google Drive using the Google Drive Desktop App. Remember, any changes made to the file within the Google Drive folder on your computer will be automatically synced with the cloud.
Way-3: Upload from Google Drive Mobile App
In our quest to explore efficient methods for uploading large files to Google Drive, we now turn our attention to the Google Drive Mobile App. I will delve into the process of uploading large files using the Google Drive Mobile App, enabling you to harness the power of seamless mobile file transfer. Let’s get started!
Step-1: Install and Launch the Google Drive Mobile App
- Open the app store on your mobile device (App Store for iOS or Google Play Store for Android).
- Search for “Google Drive” and install the official Google Drive app.
- Once the installation is complete, launch the app.
Step-2: Sign in to your Google Account
- Open the Google Drive app on your mobile device.
- Sign in using your Google account credentials. If you don’t have an account, create one by following the on-screen instructions.
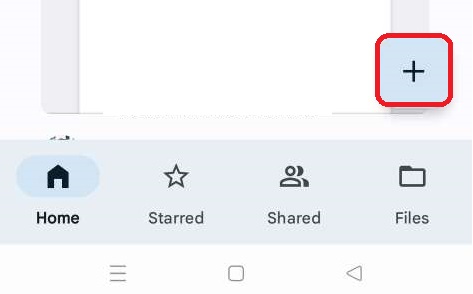
Step-3: Access the Upload Feature
- In the Google Drive app, locate and tap on the “+” or “Add” button. It is usually represented by a symbol like a “+” or a paperclip.
Step-4: Select the Large File(s) to Upload
- Browse through your mobile device’s files and folders to locate the large file you want to upload.
- Tap on the file to select it. If you want to upload multiple files, tap and hold to select additional files.
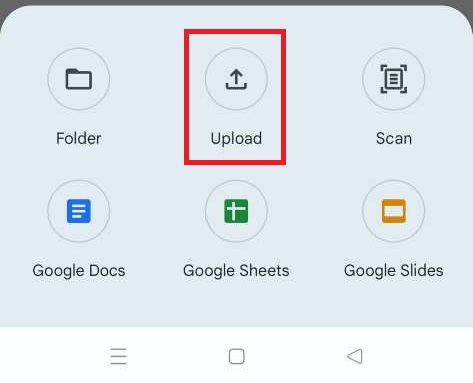
Step-5: Start the Upload Process
- After selecting the file(s), tap the “Upload” or “Done” button to start the upload process.
- The Google Drive app will begin uploading the selected file(s) to your Google Drive storage.
Congratulations! You have successfully uploaded large files to Google Drive using the Google Drive Mobile App. Enjoy the convenience of mobile file transfer and the peace of mind that comes with secure cloud storage.
Way-4: Upload from WordPress website Using Integrate Google Drive Plugin
One of the most convenient ways of Uploading files to Google Drive is by using Integrate Google Drive. By using this plugin you can allow your users to upload files without sharing your Google Drive account access. Even you can upload directly from your WordPress website without logging in to your Google Drive account.
So let’s explore how you can set up the process both for you and your users.
Step-1: Install & Activate Integrate Google Drive Plugin
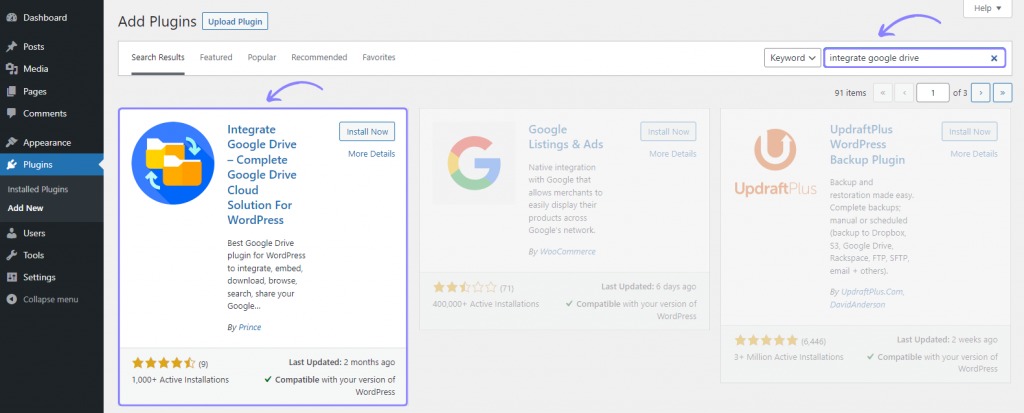
- Go to your WordPress Dashboard and navigate to “Plugins” > “Add New”.
- In the search bar, type “Integrated Google Drive” and press Enter.
- Search the “Integrated Google Drive” plugin and click “Install Now”.
- Once the installation is complete, click “Activate” to activate the plugin.
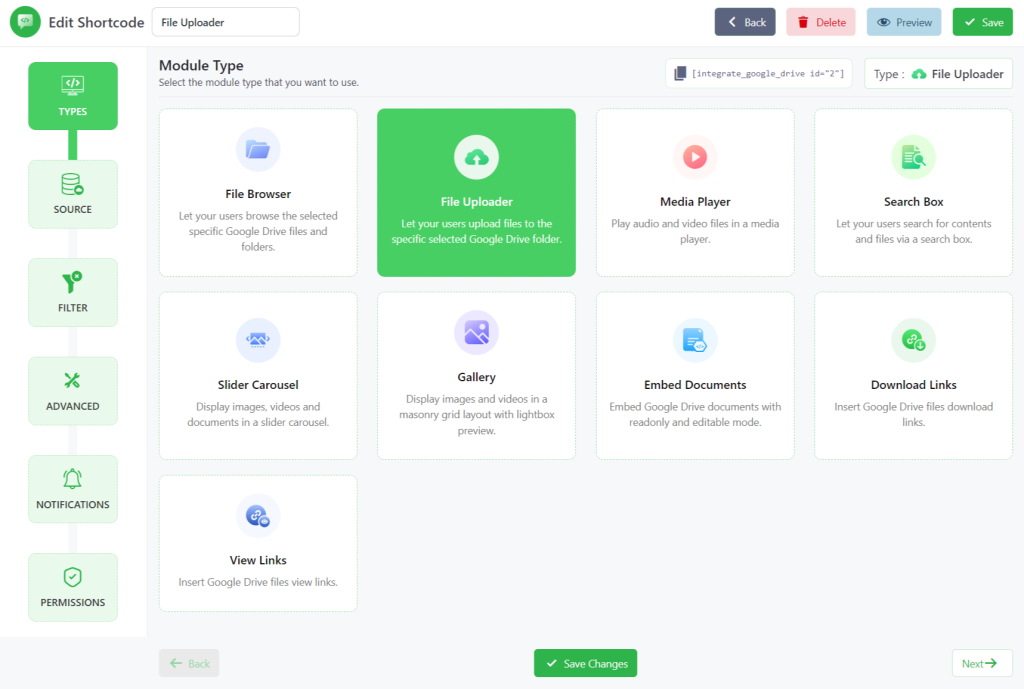
Step-2: Choose the File Uploader Module
- Access the Shortcode Builder in your WordPress dashboard.
- Click on “Add new shortcode” and select “File Uploader” from the Types tab.
- Optionally, you can change the shortcode title. Click Next to proceed.
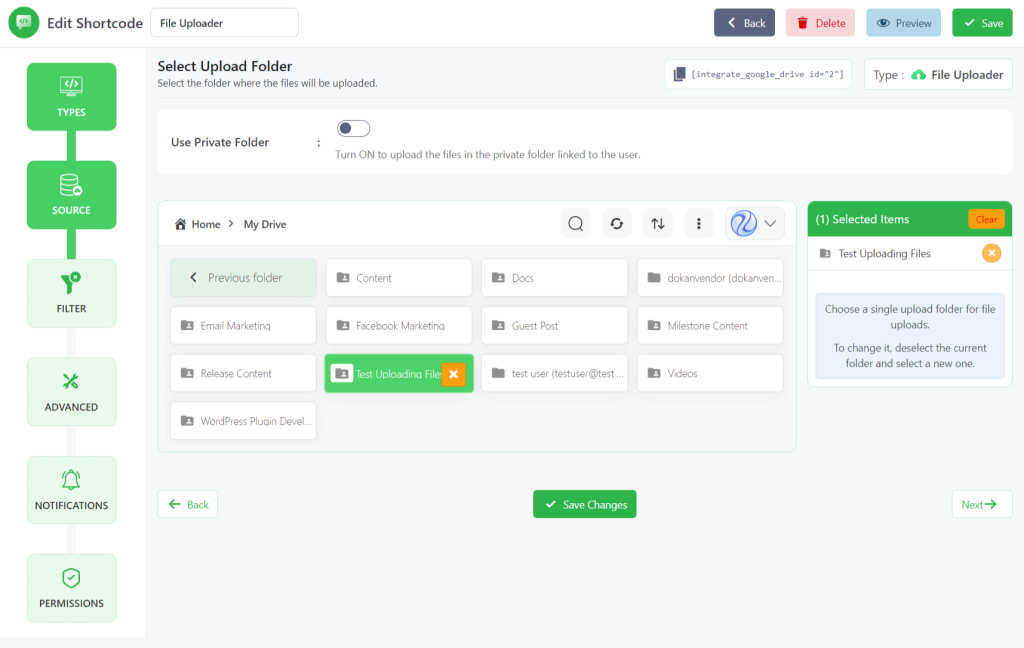
Step-3: Configure the Sources Tab
- On the Sources tab, select the folders where users will be allowed to upload files and folders.
- Use the plus sign button to add the desired folders.
- You can rearrange the folders’ order by dragging them up or down.
- Enable the “Use Private Folder” option if you want users to only navigate through permitted files and folders. Click Next.
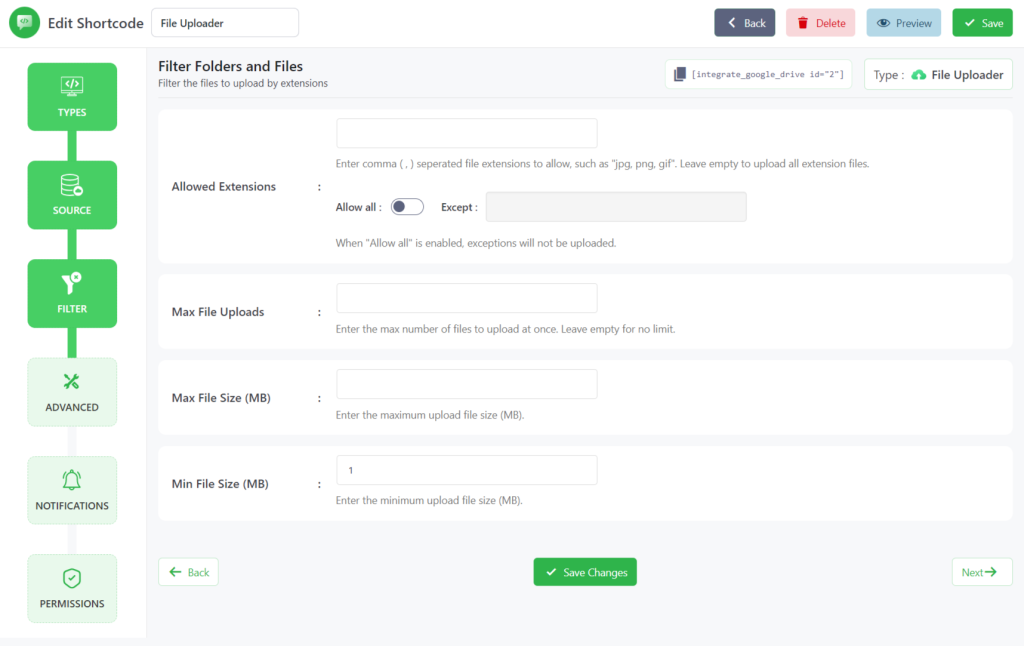
Step-4: Configure the Filter Tab
- In the Filter tab, you can specify file extensions to allow or disallow.
- Enter the allowed file extensions separated by commas in the “Allowed Extensions” box.
- Set the maximum number of files and the maximum file size for uploads.
- Optionally, you can set a minimum file size. Click Next.
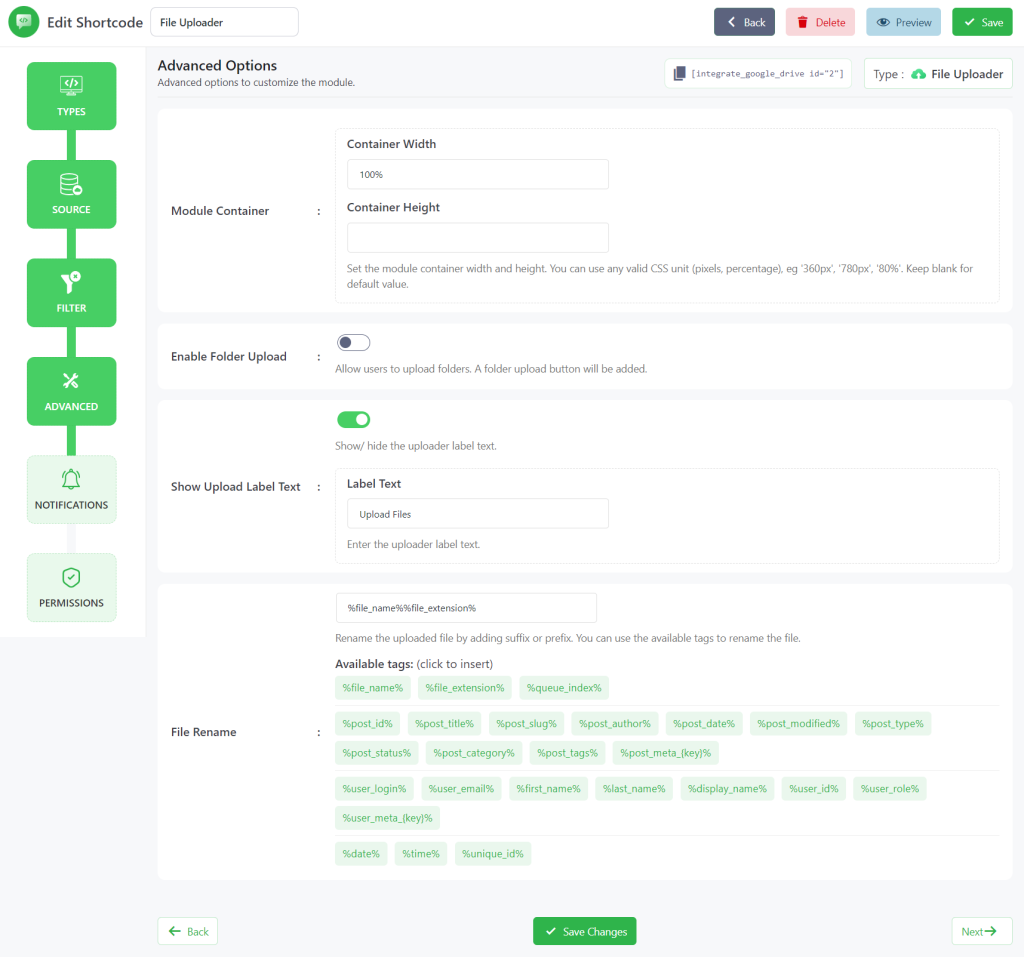
Step 5: Configure the Advanced Tab
- In the Advanced tab, customize advanced settings according to your requirements.
- Set the module container width and height.
- Enable or disable folder uploads.
- Optionally, add a label text to display under the upload button.
- Configure the file renaming option using prebuilt tags as suffixes or prefixes. Click Next.
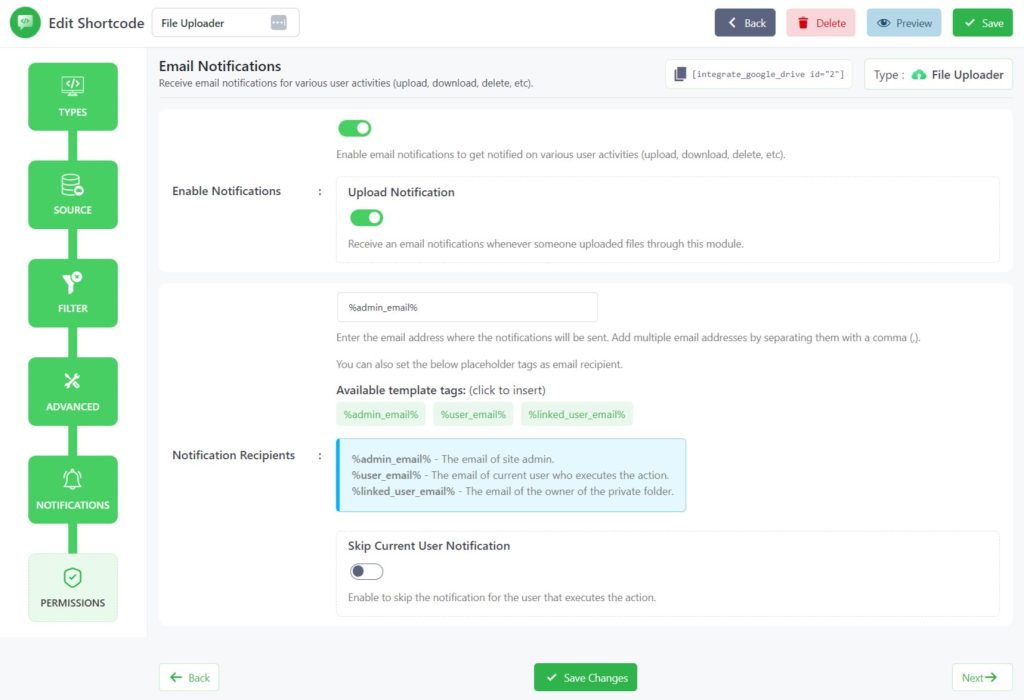
Step-6: Configure the Notifications Tab
- In the Notifications tab, customize email notification settings.
- Enable or disable email notifications for various user activities such as uploads, downloads, and deletions.
- Enter the email addresses where the notifications will be sent.
- Optionally, enable skipping notifications for the user executing the action.
Step-7: Configure the Permissions Tab
- In the Permissions tab, specify the display options for users.
- Choose whether to display the file browser module for everyone, logged-in users, specific user roles, or specific users.

Step-8: Save Changes, Copy & Display the Shortcode
- Save the changes you made in the shortcode builder.
- Copy the generated shortcode from the shortcode builder page.
- Use the shortcode to display the file browser module within your posts or pages.
Congratulations! You have successfully configured the Integrated Google Drive Plugin to upload large files to Google Drive directly from your WordPress website. Enjoy the convenience and efficiency of this method for seamless file upload.
Conclusion
We have explored three powerful methods to upload large files to Google Drive: uploading from the Google Drive website, using the Google Drive Desktop App, and leveraging the Integrated Google Drive Plugin. Each method offers its own unique advantages.
Now the decision is yours which one you will pick based on your personal need.