If you’re using Contact Form 7 on your WordPress site, you already know how easy it is to capture leads. But what if you could do more with those submissions?
That’s where Zapier comes in. It’s a game-changing tool that can connect Contact Form 7 to countless apps, automating tasks and saving you time. The catch? Contact Form 7 doesn’t offer Zapier integration by default.
No worries though! With the right third-party plugin, you can make it happen. Let’s show you how to get started!
Table of Contents
What is Zapier?
Zapier is a powerful tool that automates your workflow by connecting apps and services. It helps you streamline tasks without any coding.
With Zapier, you create “Zaps”—simple workflows that link two or more apps. When something happens in one app, Zapier triggers an action in another.
For example, you could have new form submissions from Contact Form 7 automatically added to your email list. It’s all about saving time and cutting out repetitive tasks. Simple, right?
Why Zapier Integration is Important for Contact Form 7?
Integrating Zapier with Contact Form 7 opens up a world of possibilities for your WordPress site. Let’s dive into why this connection is so important and the many benefits it brings.
- Automate Time-Consuming Tasks: Say goodbye to manual data entry! With Zapier, form submissions can automatically trigger actions like adding contacts to your CRM, sending follow-up emails, or updating your marketing lists.
- Crazy App Integration: Zapier connects Contact Form 7 to over 5,000 apps, including Google Sheets, Slack, and Mailchimp. This means your form data can flow effortlessly into the apps you already use—without you lifting a finger.
- Boost Efficiency: By automating processes, you can focus on more important tasks. Whether it’s managing leads or sending instant notifications, Zapier handles the heavy lifting.
- Personalized Workflows: Zapier allows you to create custom workflows that match your exact needs. You can set up multiple actions from a single form submission, tailoring the process to fit your business.
- Reduce Errors: Automation minimizes the risk of human error. With Zapier, you’re ensuring that data flows correctly and consistently across all your tools.
Must-Have Plugins to Integrate Zapier
How to Integrate Zapier with Contact Form 7?
Integrating Zapier with Contact Form 7 is easier than it sounds, even though it requires a third-party plugin. Here’s a step-by-step guide to get you up and running quickly.
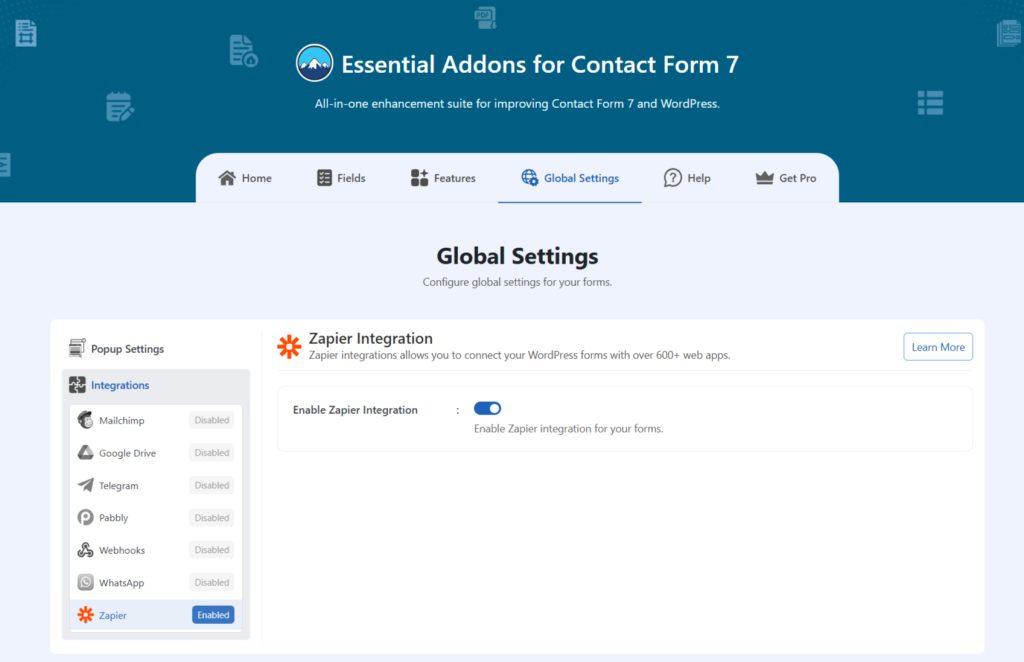
Enable Zapier Integration
Before connecting your Zapier with Contact Form 7 you have to enable Zapier integration. Follow the guidelines below to enable.
- Navigate to the Contact Form 7 menu.
- Essential Addons.
- Global Settings tab > Integrations > Zapier.
- Enable Zapier Integration.
- Save Changes.
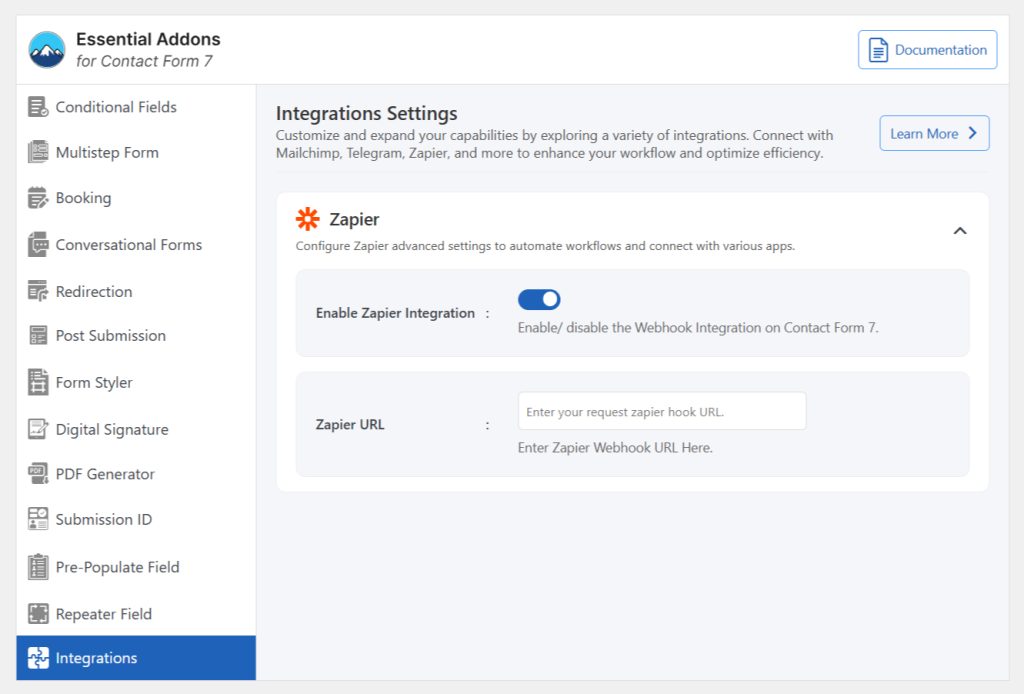
Customize Zapier Settings
After enabling Zapier integration & setting all the details, it’s time to customize additional settings. Follow the guidelines below to implement the settings.
- Navigate to any existing form or create a new one.
- Scroll down and click on Integrations settings.
- Enable the Zapier Integration if it’s disabled.
- Zapier URL: Enter your Zapier Webhook URL.
- Save Changes once customization is done.
Once everything is customized properly you can automate your Zapier workflow with Contact Form 7.
Conclusion
And just like that, you’ve unlocked the power of automation with Zapier and Contact Form 7!
By connecting these tools, you can save time, reduce errors, and streamline your workflows like never before. The possibilities are endless—whether it’s nurturing leads, organizing data, or staying on top of follow-ups.
So why not let automation do the heavy lifting?
With just a few simple steps, you’ve transformed your contact forms into a seamless, efficient part of your business. Happy automating!