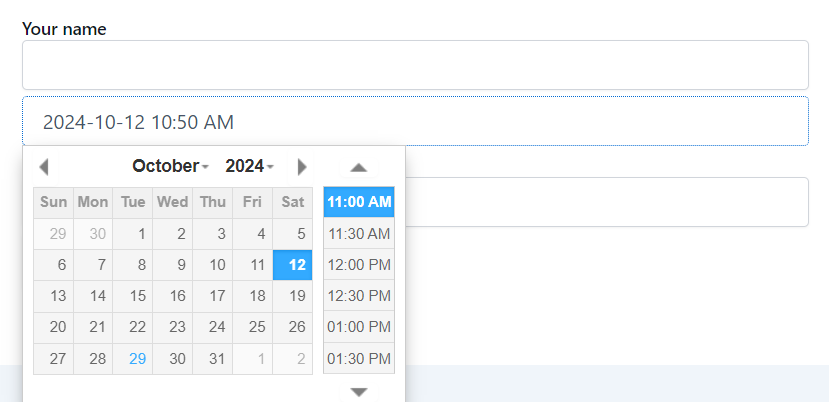
Essential Addons for Contact Form 7’s Date Time feature allows including a dynamic date & time in a single field. This field allows users to select a custom date & time while submitting the form.
Follow the below guideline to implement the Date & Time field in the Contact Form 7 plugin.
Make sure you have installed both Contact Form 7 & Essential Addons Contact Form 7 plugins inside your WordPress.
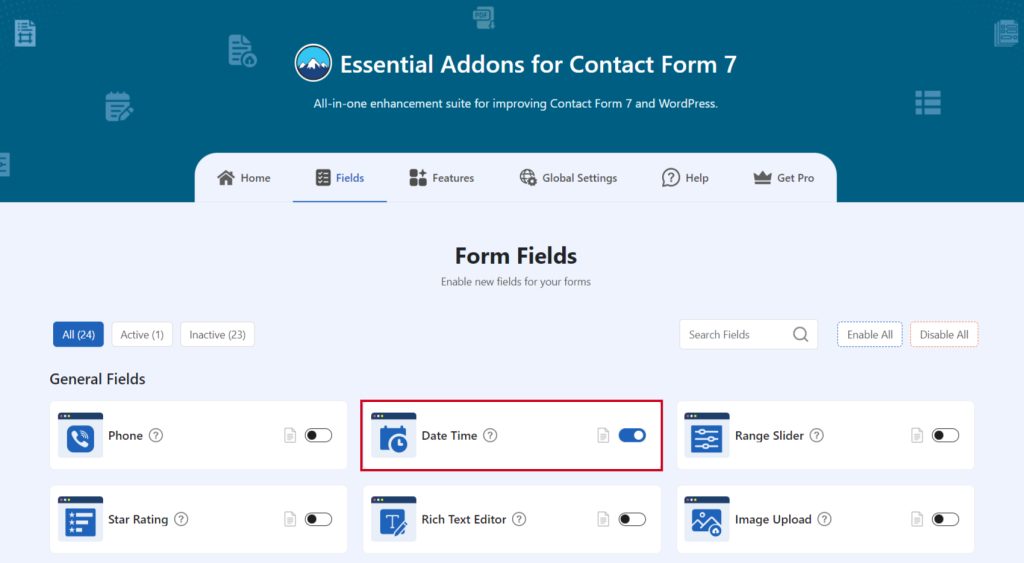
Enable Date Time
You must enable Date Time integration before implementing the Date Time in Contact Form 7. To do that, follow the below steps:
- Navigate to the Contact Form 7 menu.
- Essential Addons.
- From the Fields tab enable the Date Time field.
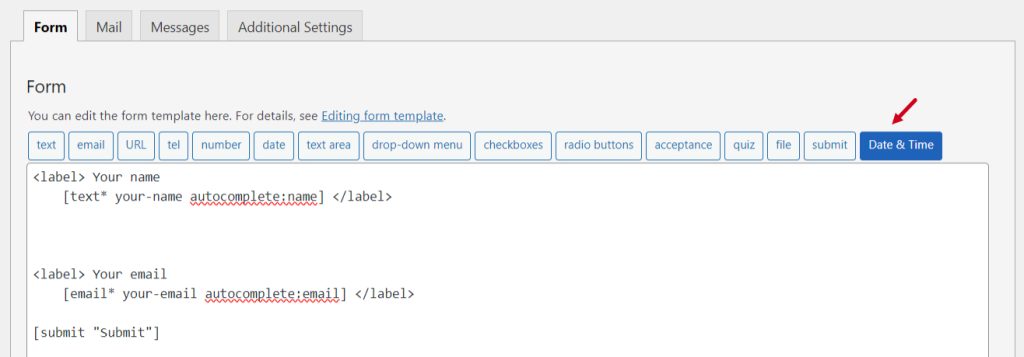
Add Date Time Field
To implement the Date & Time in your contact form follow the below steps:
- Navigate to any existing form or create a new one.
- Add the “Date & Time” tag where you want to display in your form.
Configure Date Time Field
After clicking the Date Time tag a new popup window will appear. Here you can configure & customize the Date & Time settings.
- Field Type: Tick or untick whether you want to mark it as required or not.
- Name: Usually the name field is auto-generated. You can add custom value if required.
- ID: Enter custom ID if required.
- Class: Enter custom class attributes if required.
Click the Insert Tag button once the configuration is done.
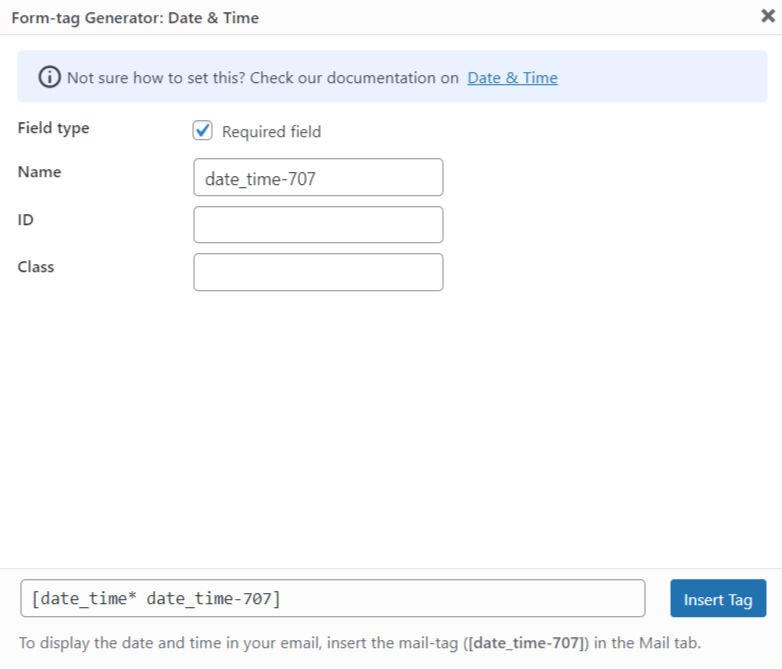
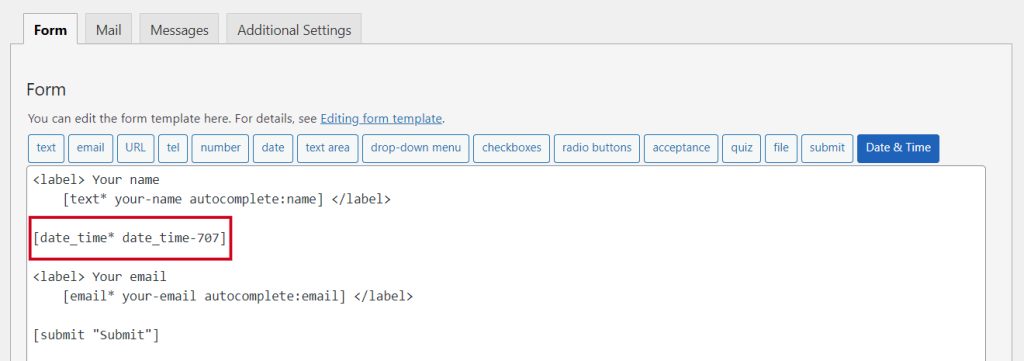
- The customized tag will be added to your form editing panel.
- Save Changes.
Embed the Shortcode
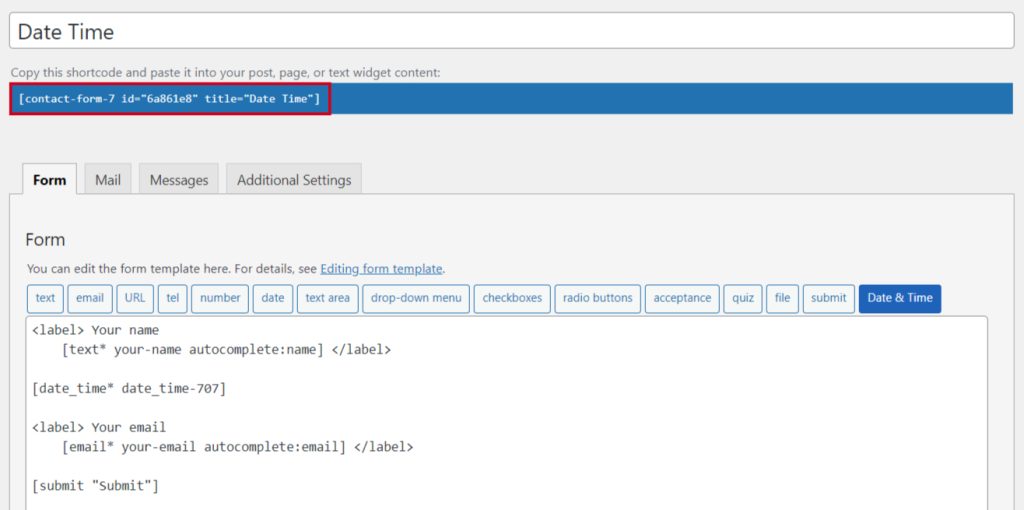
- Copy & Paste the shortcode inside your page or post to display the form.
Output
