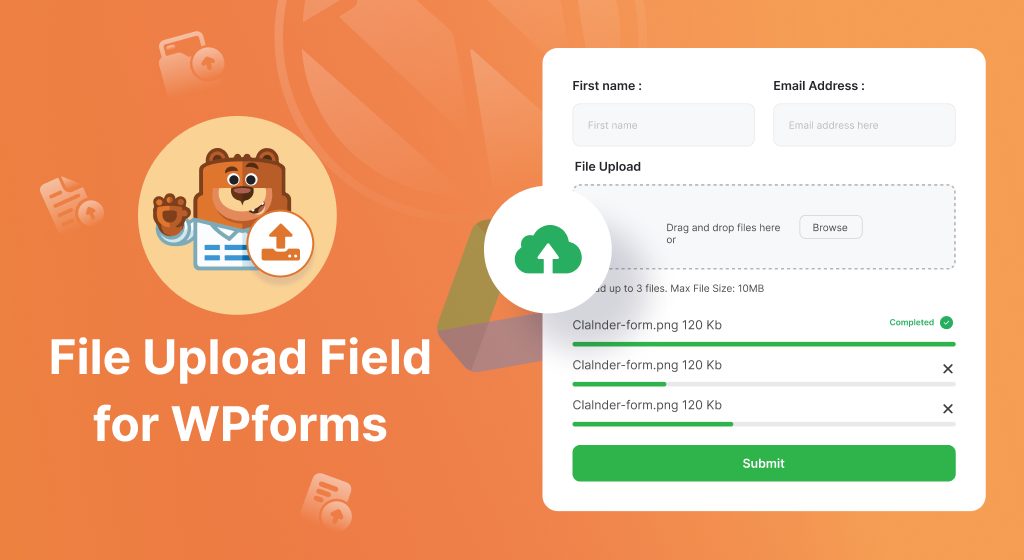
Category: Upload Fields for WPForms

How to Use Drag & Drop Google Drive Upload Field in WPForms for Free?

The Google Drive upload field is much more valuable for website owners because they don’t want to waste hosting space. At a time you can save hosting space, arrange files in a single location, and manage everything easily. That’s why Google Drive upload is such handy among website owners.

But can you enable the Google Drive upload field in your WordPress website fully for free?

Yes, you can easily do that with the help of the Upload Fields for WPForms plugin fully for free. And allow users to upload necessary image files directly from your page or post.

This plugin features 3 powerful manual and drag & drop uploading fields. Such as file upload, image upload & google drive upload.

Let me directly take you a step-by-step guide on how you can set up and enable Google Drive Image Upload Field easily.

Before getting started with the main steps, make sure you have installed the WPForms plugin inside your WordPress website.

Read Also: How to Use Drag & Drop File Upload Field in WPForms

Step-1: Install Upload Fields for WPForms Plugin

Installing Upload Fields for WPForms Plugin is easy. To install Upload Fields for WPForms Plugin, navigate to Plugins from the WordPress dashboard > Add New > search for Upload Fields for WPForms > Install & Activate the plugin.

Step-2: Integrate with Google Drive

Navigate to WPForms > Settings > Integrations > click Sign in with Google and link your preferred google account.

Step-3: Create New Form

To create a new form, click Add New.

Step-4: Customize the Form

Type your Forms Name > Select the preferred template.

Step-5: Configure Google Drive Upload Field

From the Upload Fields tab click or drag & drop the Google Drive Upload Field > Do settings customization if required.

From the General settings, select the upload folder where you want to store uploaded files, allow files by their extensions from the Allowed File Extensions menu, can limit maximum file size, maximum file uploads number, and others. Click Save while you have configured everything.

Step-6: Display Google Drive Upload Field

To display the Google Drive upload field inside any of your pages or post, navigate to your preferred page or post > add new block > search for WPForms & select > select the form you have created previously > Update the page or post.

You are now completely done with everything. When users upload any files from the preferred page or post, all files will be stored inside your liked google drive account.

Read Also: Best WPForms Addon Plugins

How to Use Drag & Drop Image Upload Field in WPForms for Free?

Sometimes it might become important to allow users to upload image files from your website’s page or post. It’s a kind of handy feature exclusively for your users.

But is it really possible to allow users to upload any image files from your WordPress website fully for free?

Yes, it’s obviously possible!

You can allow this feature by using the Upload Fields for WPForms plugin fully for free.

This plugin features 3 powerful manual and drag & drop uploading fields. Such as file upload, image upload & google drive upload.

In this article, I will guide you step by step on how can you set up and enable the image uploading field for your users.

Before getting started make sure you have installed the WPForms plugin inside your WordPress website.

Read Also: How to Use Drag & Drop Google Drive Upload Field in WPForms

Step-1: Install Upload Fields for WPForms Plugin

Installing Upload Fields for WPForms Plugin is easy. To install Upload Fields for WPForms Plugin, navigate to Plugins from the WordPress dashboard > Add New > search for Upload Fields for WPForms > Install & Activate the plugin.

Step-2: Create New Form

To create a new form, click Add New.

Step-3: Customize the Form

Type your Forms Name > Select the preferred template.

Step-4: Configure Image Upload Field

From the Upload Fields tab click or drag & drop the image upload field > Do settings customization if required.

From the General settings, you can allow files by their extensions from the Allowed File Extensions menu, can limit maximum file size, maximum file uploads number, and others.

From the Advance settings, you can enable Save files in Media Library. That will store all uploaded images inside the WordPress media library. Click Save while you have configured everything.

Step-5: Display Image Upload Field

To display the image upload field inside any of your pages or post, navigate to your preferred page or post > add new block > search for WPForms & select > select the form you have created previously > Update the page or post.

Hurrah, you have finally completed all the necessary setup. While users will visit the page, they will be able to upload any kind of image file (jpg, png, gif, etc) and files will be stored inside your hosting server.

How to Use Drag & Drop File Upload Field in WPForms for Free?

File upload filed in your website could be a great impact on your valuable users. Such fields allow users to upload necessary files from any page or post on your website.

While it’s about WPForms file upload filed, you might know this feature is not free to use. You have to enroll yourself in the WPForms PRO version to take advantage of this feature.

But what if you can use the file upload field fully for FREE? Can you really do that?

Yes, you obviously can do that.

Introducing you to Upload Fields for the WPForms plugin developed by the SoftLab team. Using the file upload field feature your users can upload any type of document, image, video, audio, and almost every files directly from their local device.

This plugin features 3 powerful manual and drag & drop uploading fields. Such as file upload, image upload & google drive upload.

Let me take you directly to step by step guide on how you can enable the file upload field in WPForms fully for free.

Before getting started, ensure you have installed the WPForms plugin inside your WordPress website.

Read Also: How to Use Drag & Drop File Upload Field in WPForms

Step-1: Install Upload Fields for WPForms Plugin

Installing Upload Fields for WPForms Plugin is easy. To install Upload Fields for WPForms Plugin, navigate to Plugins from the WordPress dashboard > Add New > search for Upload Fields for WPForms > Install & Activate the plugin.

Step-2: Create New Form

To create a new form, click Add New.

Step-3: Customize the Form

Type your Forms Name > Select the Preferred Template.

Step-4: Configure File Upload Field

From the Upload Fields tab click or drag & drop the file upload field > Do settings customization if required.

From the General settings, you can allow files by their extensions from the Allowed File Extensions menu, can limit maximum file size, maximum file uploads number, and others.

From the Advance settings, you can enable Save files in Media Library. That will store all uploaded files inside the WordPress media library. Click Save while you have configured everything.

Step-5: Display File Upload Field

To display the file upload field inside any of your pages or post, navigate to your preferred page or post > add new block > search for WPForms & select > select the form you have created previously > Update the page or post.

Now your users can upload any necessary files with the help of Upload Fields for the WPForms Plugin.

Read Also: How to Use Drag & Drop Image Upload Field in WPForms