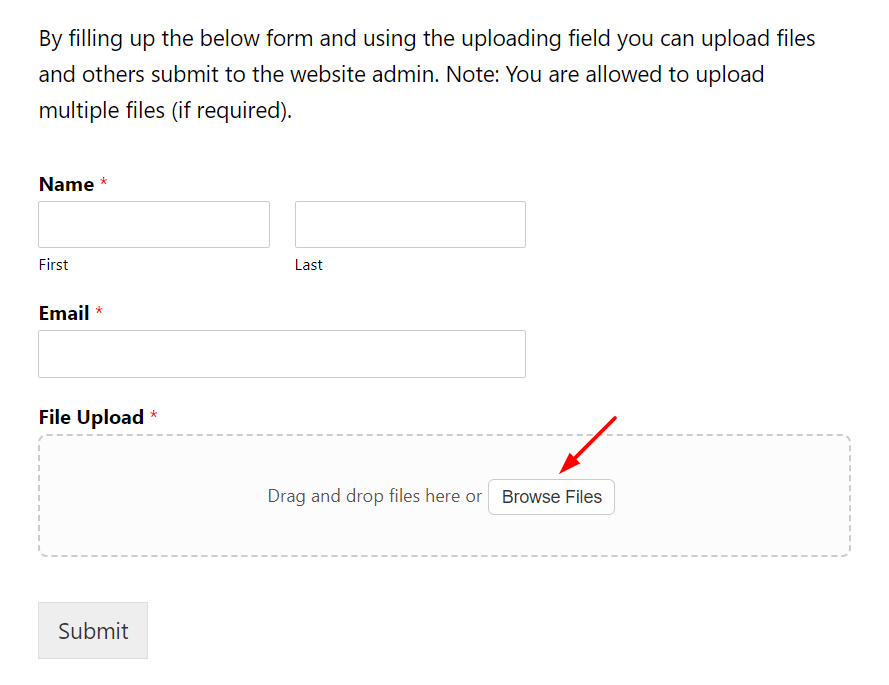
By using the upload field for the WPForms plugin you can allow users to upload files inside WPForms while they are submitting the form. It can be useful for users to upload any kind of documents, and other file types.
Note: Make sure you have installed both WPForms and Upload Fields for WPForms plugins.
Step-1: Create New Form
Navigate to WPForms > All Forms > Add New. A new form will be created over time.

Step-2: Customize the Form
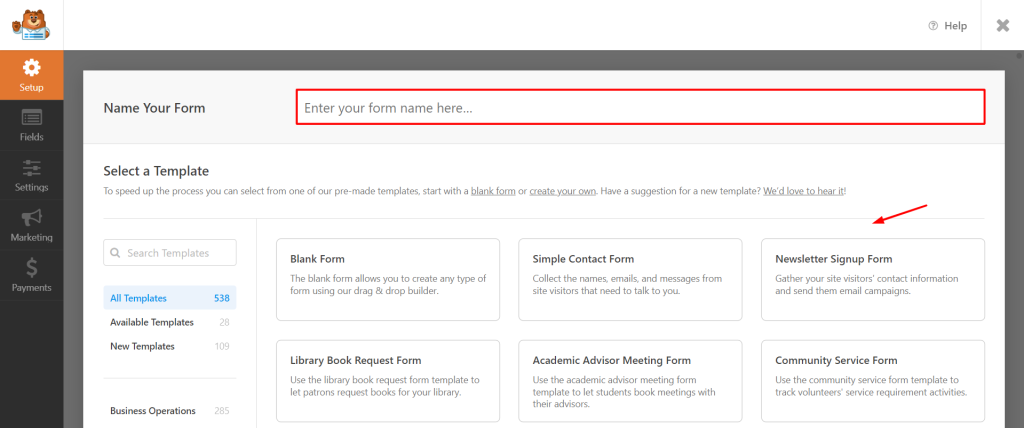
Now customize the form you have created. Type your Forms Name > Select the Preferred Template from available templates (Blank Form, Simple Contact Form, etc)
Step-3: Configure File Upload Field
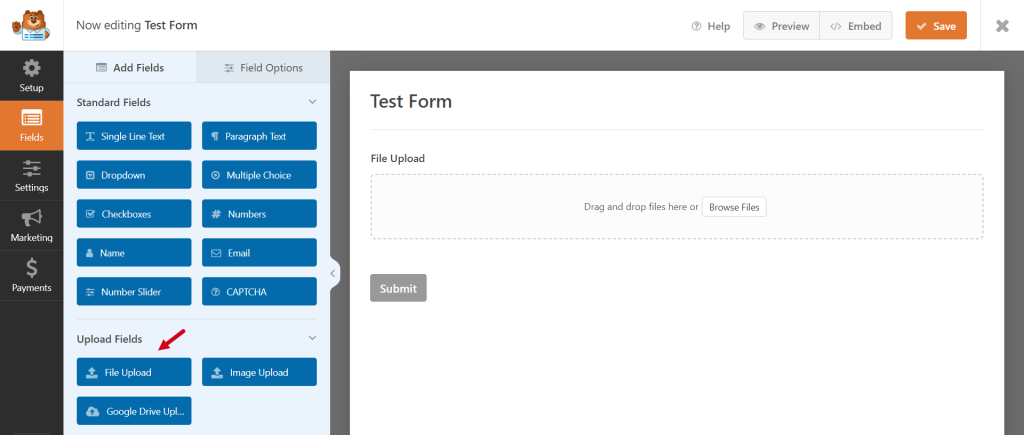
From the Fields > Add Fields > Upload Fields tab click or drag & drop the File Upload field > Do settings customization if required.
Step-4: General Settings Customization
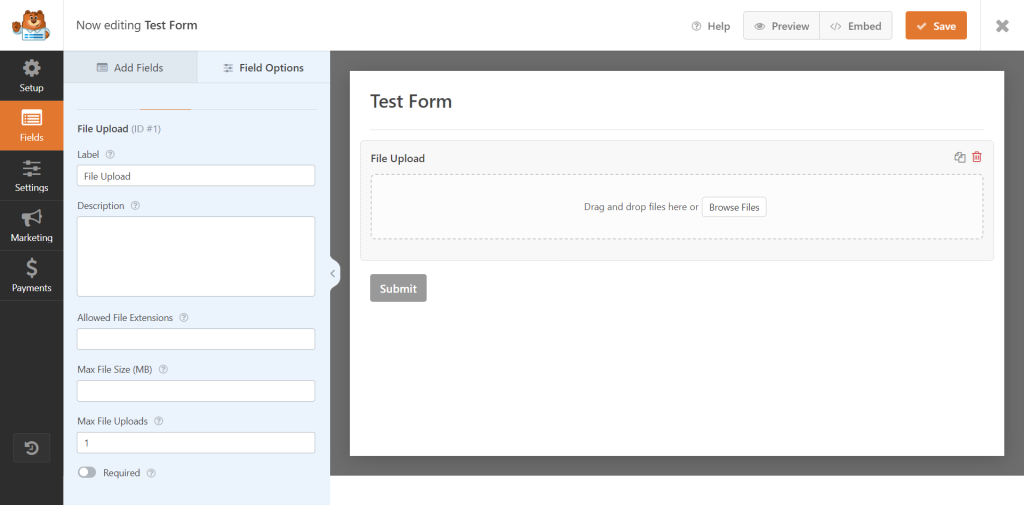
- Label: Enter text for the form field label. Field labels are recommended and can be hidden in the Advanced Settings.
- Description: Enter text for the form field description.
- Allowed Images: Enter the comma-separated extensions of images you would like to allow to upload.
- Max File Size (MB): Enter the max size of each file, in megabytes, to allow. If left blank, the value defaults to the maximum size the server allows which is 300 MB.
- Max File Uploads: Enter the maximum number of files to allow. If left blank, the value defaults to 1.
Step-5: Advanced Settings Customization
- Hide Label: Check this option to hide the form field label.
- CSS Classes: Enter CSS class names for the form field container. Class names should be separated with spaces.
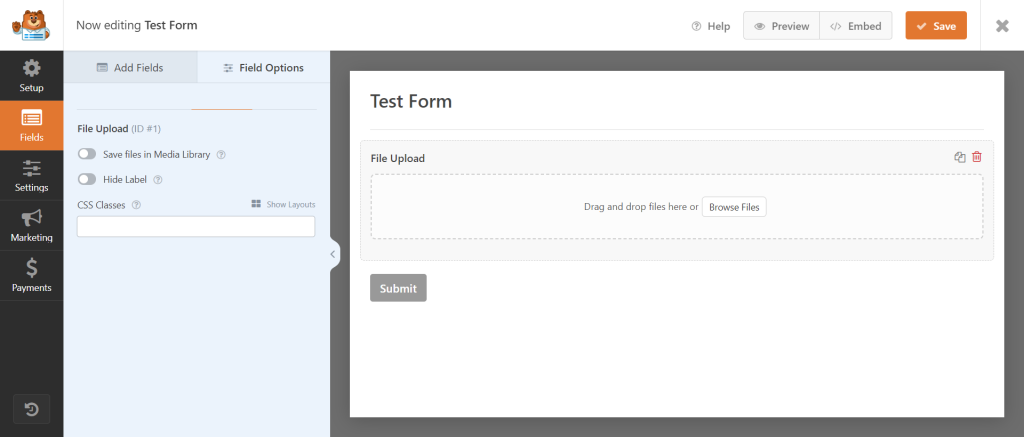
Click Save while you have configured everything.
Now your users can upload any necessary files with the help of Upload Fields for the WPForms Plugin.
Step-6: Display File Upload Field
To display the file upload field inside any of your pages or posts, navigate to your preferred page or post > add new block > search for WPForms & select > select the form you have created previously > Update the page or post.
