Displaying multiple radio station playlists in a single Radio Player enhances user experience. It also provides easy access to a variety of stations.
The following guide will walk you through the steps to set up and manage multiple playlists using the Radio Player WordPress plugin.
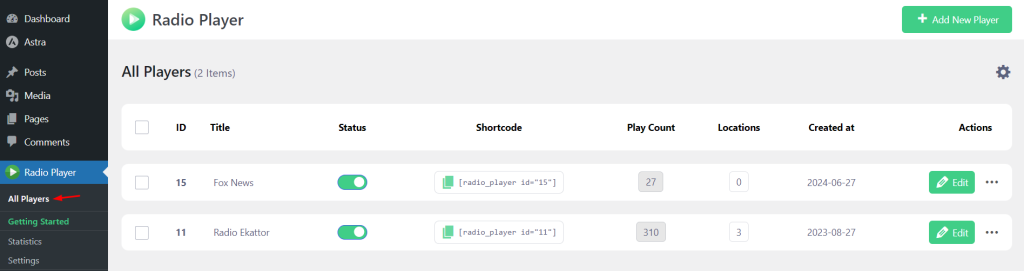
Access the Radio Player Plugin
- Navigate to your WordPress dashboard.
- Go to the Radio Player plugin section by clicking on “Radio Player” in the left menu.
- Select “All Players” to view all your existing radio players.
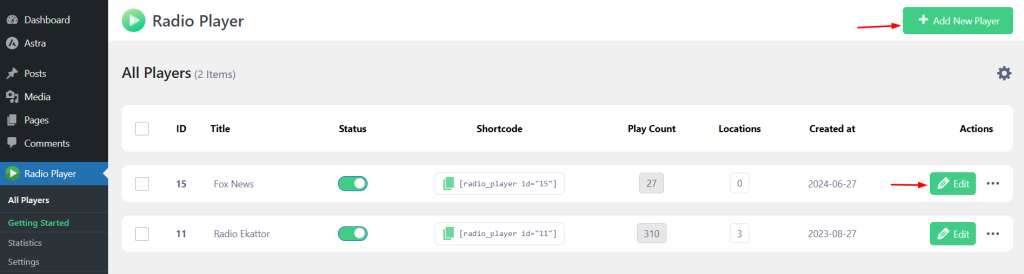
Add a New Player or Edit Existing
- To create a new player, click on “Add New Player.”
- If you want to modify an existing player, click “Edit” next to the player you want to update.
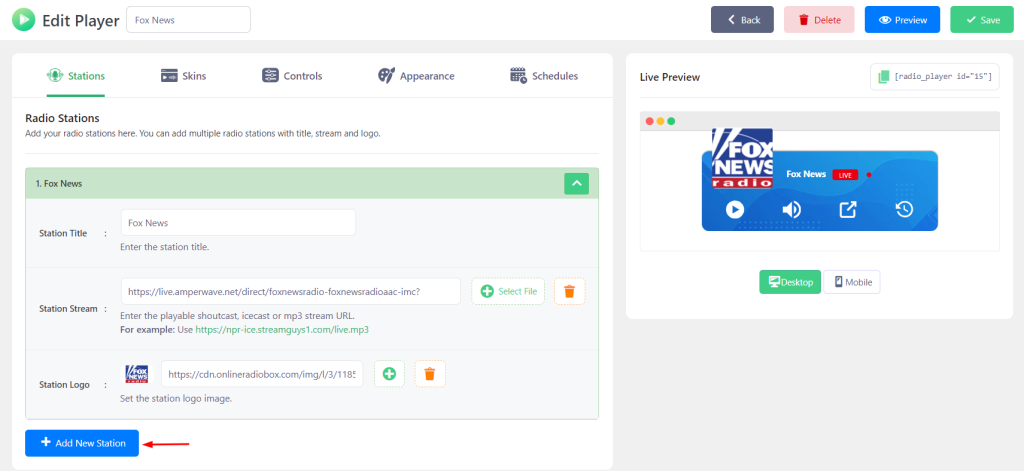
Adding a New Station
- Within the player settings, click the “Add New Station” button.
- Fill in the necessary information for the new station, including the station name, stream URL, and any other required details.
- Repeat this process for each station you want to add to the player.
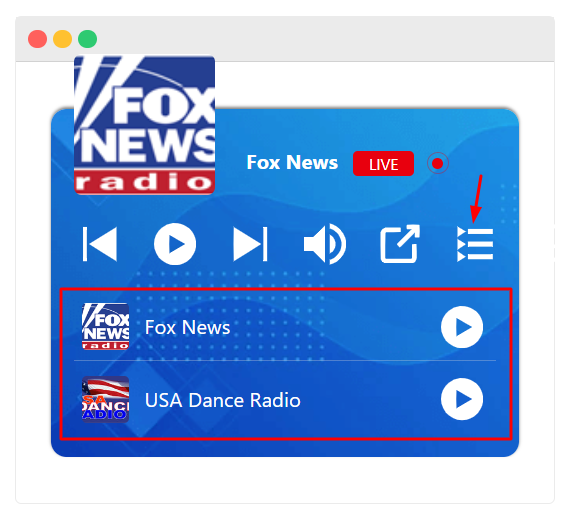
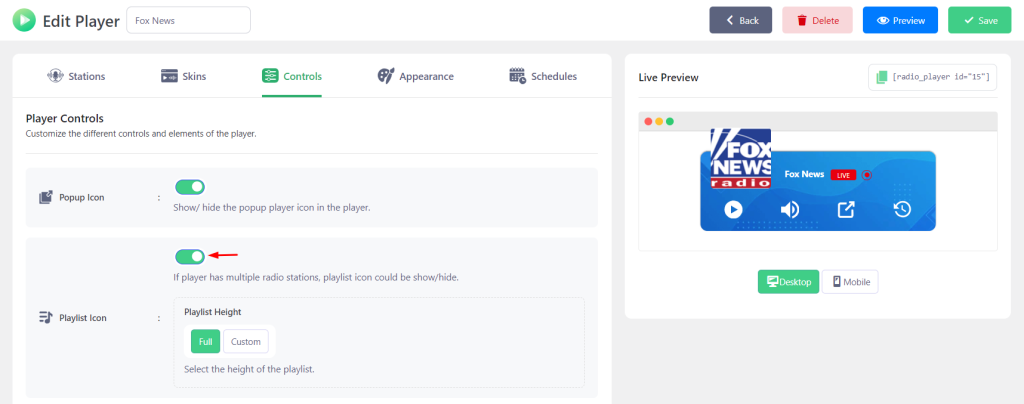
Enabling the Playlist Icon
- Navigate to the “Controls” tab within the player settings.
- Enable the “Playlist Icon” and ensure it is turned on. This will allow users to view and switch between different station playlists inside the player.
- Click “Save Changes” to finalize your changes.
By following these steps, you can easily display multiple radio station playlists within your Radio Player, providing a rich and customizable listening experience users.
Output