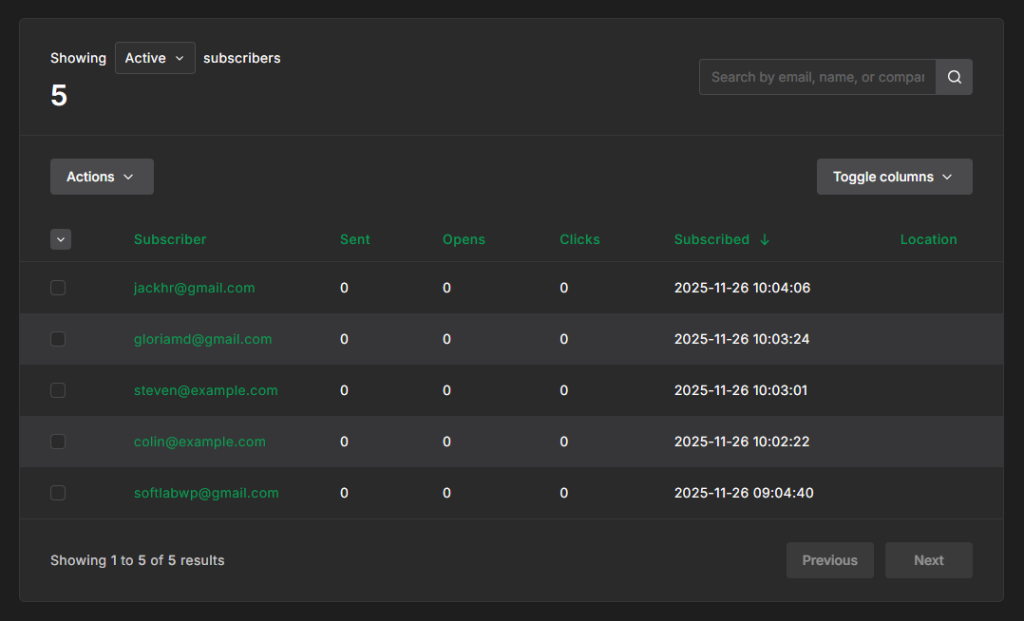
Managing and growing your email list should be effortless. With the MailerLite Integration in Essential Addons for Contact Form 7, every form submission is instantly added to your MailerLite audience no copying, pasting, or manual imports needed.
The moment someone submits a form, their details are automatically sent to your connected MailerLite account. This smooth, automated workflow helps you build your list faster, organize subscribers more effectively, and keep your email campaigns running with fresh, accurate data.
Follow the steps below to connect MailerLite with your Contact Form 7 forms and streamline your subscriber management.
Before you begin, ensure both Contact Form 7 and Essential Addons for Contact Form 7 (PRO) are installed on your WordPress site.
Enable MailerLite Integration
Before connecting your MailerLite account with Contact Form 7, you need to enable MailerLite integration. Follow the steps below to get started:
- Navigate to the Contact Form 7 menu.
- Go to Essential Addons.
- Click the Global Settings tab > Integrations > MailerLite > Enable MailerLite Integration.

Configure MailerLite Settings
Once you activate the MailerLite Integration toggle, you’ll discover a few other options. This is where you configure your MailerLite environment and provide the necessary credentials to connect your account.
Here’s what each field means:
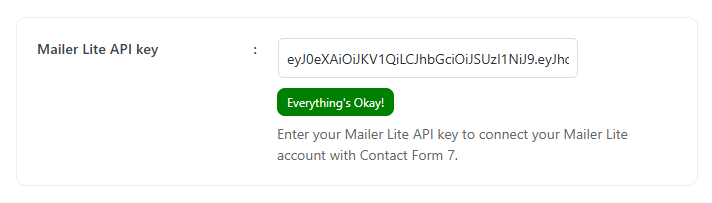
- MailerLite API key: A MailerLite API key is a unique authentication token that allows external apps to securely access and interact with your MailerLite account. Enter your MailerLite API key to connect your MailerLite account with Contact Form 7.
How to Access MailerLite API?
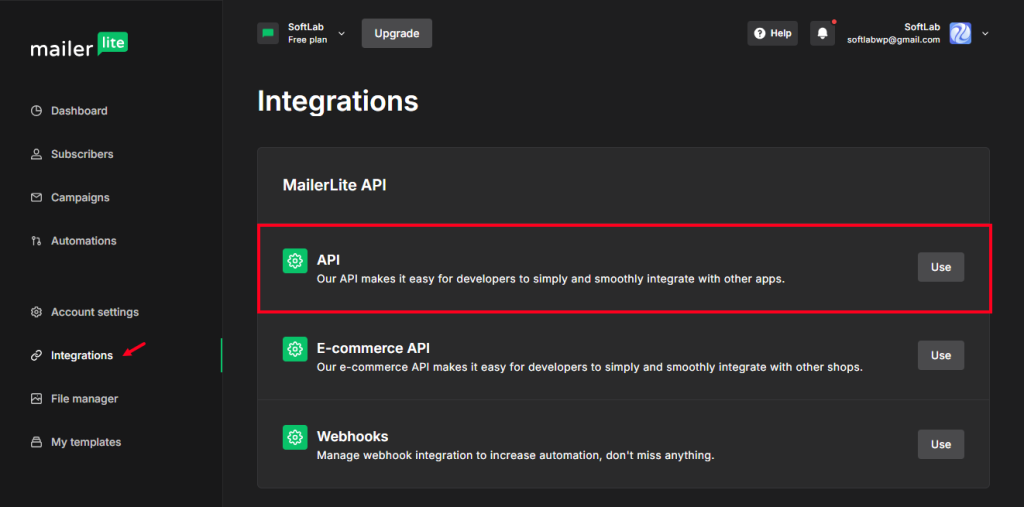
To access the MailerLite API and other credentials, follow the steps below:
- Log in to your MailerLite account.
- Navigate to Integrations > API > Generate New Token > Enter Token Name > Click Create Token.
- Here you will be able to access the MailerLite API.
Configure MailerLite Additional Settings
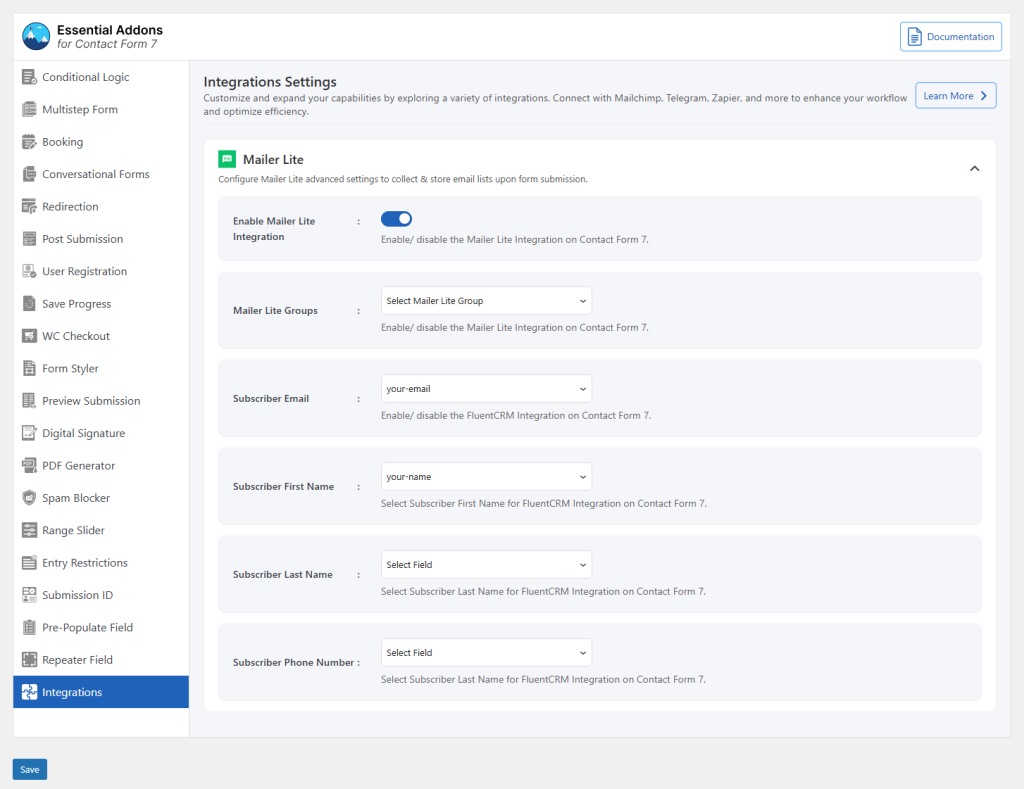
Before collecting & storing necessary information through Contact Form 7 to MailerLite, configuring additional settings is mandatory. Otherwise, the functionality won’t work as expected.
Follow the guidelines below to configure the settings properly.
- Navigate to Contact Forms to create a new form or edit an existing one.
- Enter Form Name, customize Form Template, and others.
- Navigate to Integrations from Essential Addons for Contact Form 7 settings > MailerLite > Enable MailerLite Integration if it’s disabled.
- Mailer Lite Groups: Select the group where submitted data will be stored.
- Subscriber Email: Select the correct tag to capture the subscriber email while submitting the form.
- Subscriber First Name: Select the correct tag to capture the First Name while submitting the form.
- Subscriber Last Name: Select the correct tag to capture the Last Name while submitting the form.
- Subscriber Phone Number: Select the correct tag to capture the Phone Number while submitting the form.
- Save Changes while the configuration is done.
Upon submitting the form, the necessary and selected information will start storing inside the MailerLite account directly from Contact Form 7.
Output