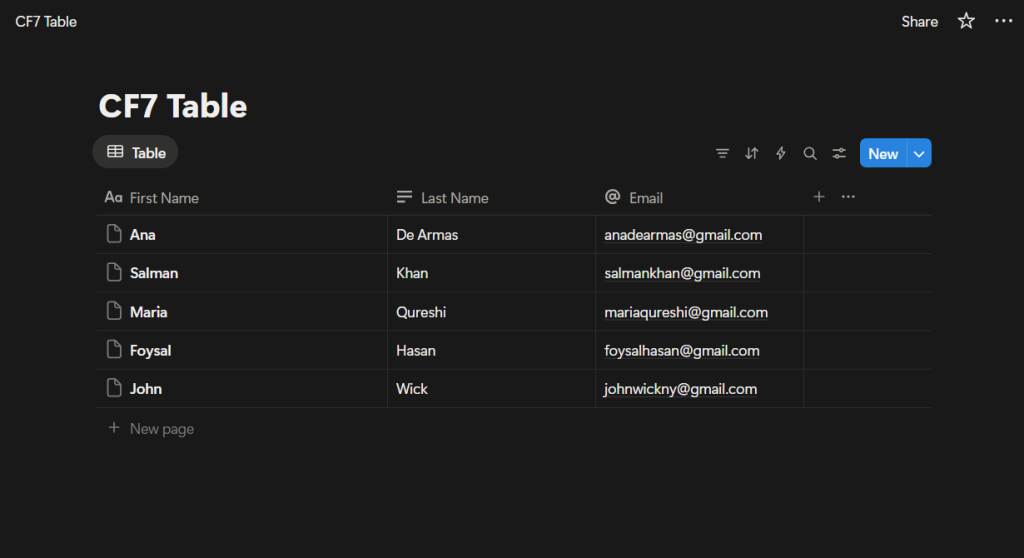
Managing customer contacts should be simple and effortless. With Notion, every form submission and customer interaction is captured instantly—no manual data entry or complex setup required.
As soon as someone submits a form or reaches out, their details are automatically added to your Notion database, along with relevant activity history. This hands-free workflow keeps your contacts organized, ensures accurate interaction tracking, and gives you reliable, real-time data to build stronger customer relationships.
Follow the steps below to connect your forms and make sure every submission is recorded as a contact in Notion.
Before you begin, ensure both Contact Form 7 and Essential Addons for Contact Form 7 (PRO) are installed on your WordPress site.
Enable Notion Integration
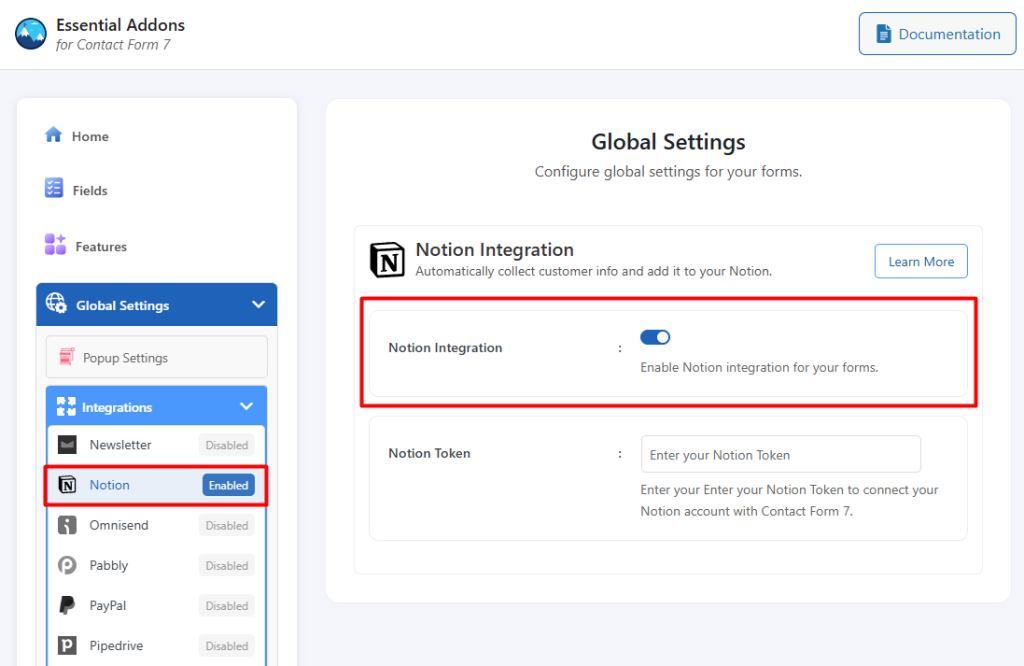
Before connecting your Notion account with Contact Form 7, you need to enable the Notion integration.
Follow the steps below to get started:
- Navigate to the Contact Form 7 menu.
- Go to Essential Addons.
- Click the Global Settings tab > Integrations > Notion > Enable Notion Integration.
Configure Notion Settings
Once you activate the Notion Integration toggle, you’ll see a few additional options. This is where you configure your Notion settings and enter the necessary credentials to connect your account.
Here’s what each field means:
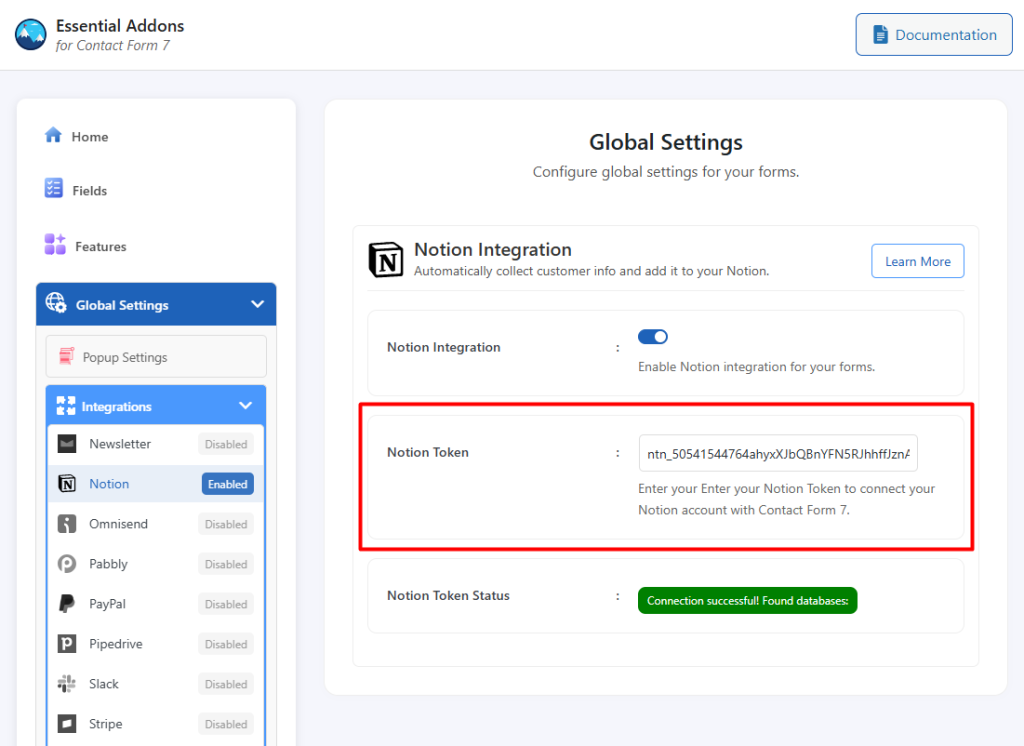
- Notion Token: A Notion token is a unique authentication key that allows external applications to securely access and interact with your Notion workspace.
How to Access the Notion Token?
To access the Notion Token and other credentials, follow the steps below:
- Log in to your Notion Account.
- Navigate to Notion Integrations Setting Page > Click New integration.
- Write Integration Name, Select Associated workspace, Select Type, and Upload Logo if you want.
- Give Access to a Database/Table and Select Capabilities to give permissions.
- Here you will be able to copy the Notion Token.

Configure Notion Additional Settings
Before you can collect and store subscriber information from Contact Form 7 to Notion, configuring the additional settings is essential. Without these settings, the integration won’t function properly.
Follow the guidelines below to configure the settings properly.
- Navigate to Contact Forms to create a new form or edit an existing one.
- Enter Form Name, customize Form Template, and others.
- Navigate to Integrations from Essential Addons for Contact Form 7 settings > Notion > Enable Notion Integration if it’s disabled.
- Notion Select Table: Select the correct table in Notion where you want the data to be added.
- Field Mapping: Define the field name, select the data type, and assign the correct form tag for each entry.
- Save Changes once the configuration is complete.

Upon submitting the form, the selected information will be automatically stored in your Notion account directly from Contact Form 7.
Output