Integrating Google Drive with your WordPress site can enhance your website’s file management by allowing seamless access and storage directly from your Google Drive.
This guide will walk you through the simple steps required to install and activate the Integrate Google Drive plugin on your WordPress website. Follow the instructions below, and you’ll be up and running in no time!
Step-1: Installing Integrate Google Drive Plugin
To begin, you need to install the Integrate Google Drive plugin from the WordPress plugin repository. Follow these steps to install:
- Go to your WordPress Dashboard: Open your browser and log in to the admin area of your WordPress site.
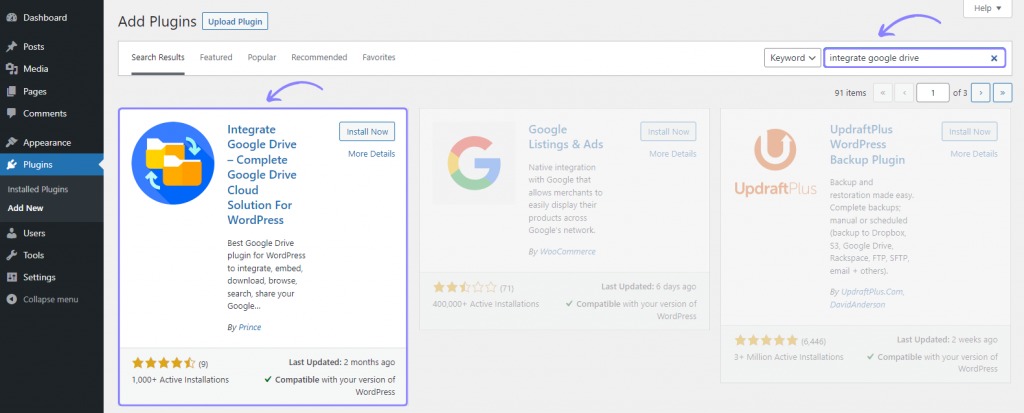
- Navigate to the Plugins Section: On the left side of the dashboard, hover over “Plugins” and click on Add New.
- Search for the Plugin: In the search bar at the top right of the screen, type in “Integrate Google Drive”.
- Select the Plugin: You will see a list of available plugins. Find Integrate Google Drive and click the Install Now button next to it.
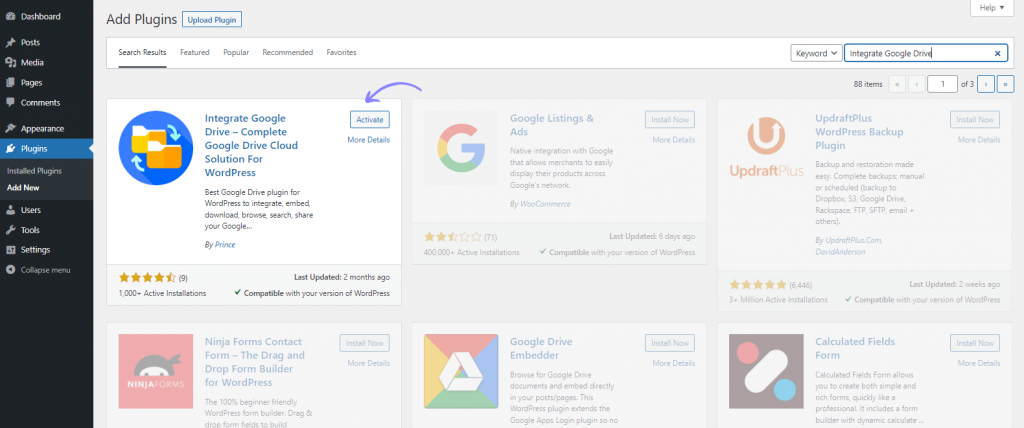
Step-2: Activating the Plugin
Once the plugin has been installed, you’ll need to activate it to enable its features. Follow these steps to activate:
- Click the ‘Activate’ Button: After installation, the Install Now button will change to an Activate button. Click on Activate to enable the plugin on your site.
- Confirmation: Once activated, you will see a confirmation message that the plugin is successfully activated.
Hurrah! You have successfully installed and activated the Integrate Google Drive plugin. You can now begin using Google Drive seamlessly with your WordPress site to store, access, and manage your files more efficiently.
For further instructions on how to integrate your Google Drive account and configure additional settings, refer to the plugin’s documentation page or follow the below step-by-step video tutorial.