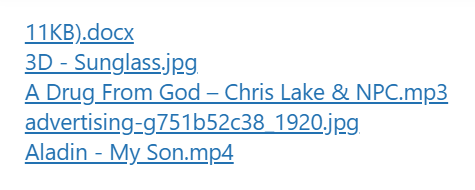
Using the View Links module you can insert any Google Drive file links in any posts or pages. Your users can view the files in Google Drive by clicking the links from your posts/pages.
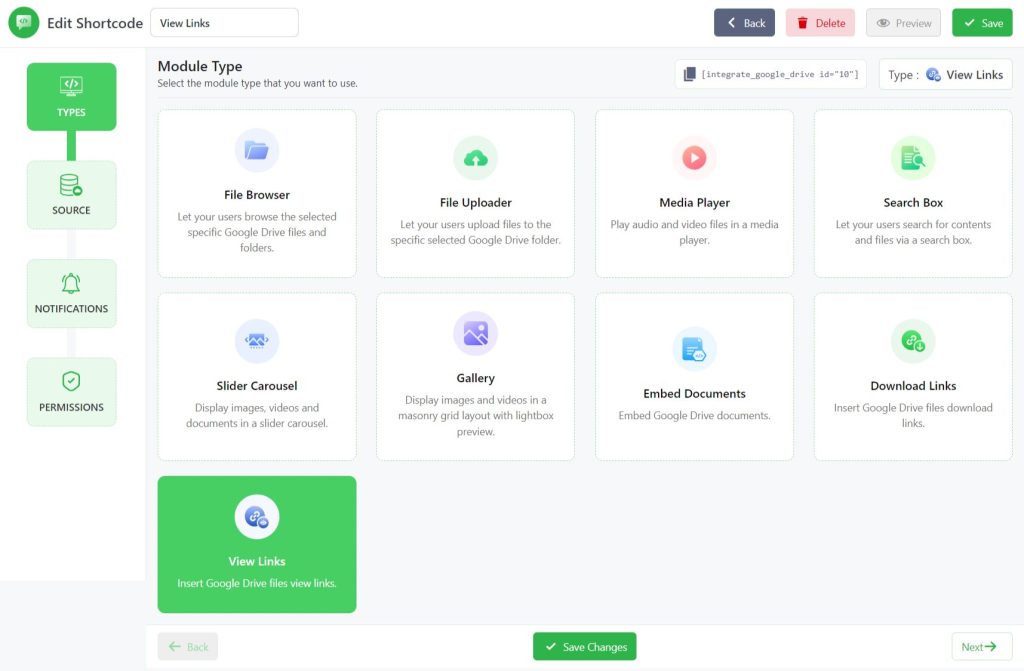
Step-1: Choose View Links Module
To create a File View Link Module, click on the Shortcode Builder menu from the admin dashboard menu. Create a new Shortcode > select the View Links module from the Types tab.
Rename the shortcode title from the top left side of the WordPress dashboard depending on your project type.
Then click Next.
Step-2: Configure the Source Tab
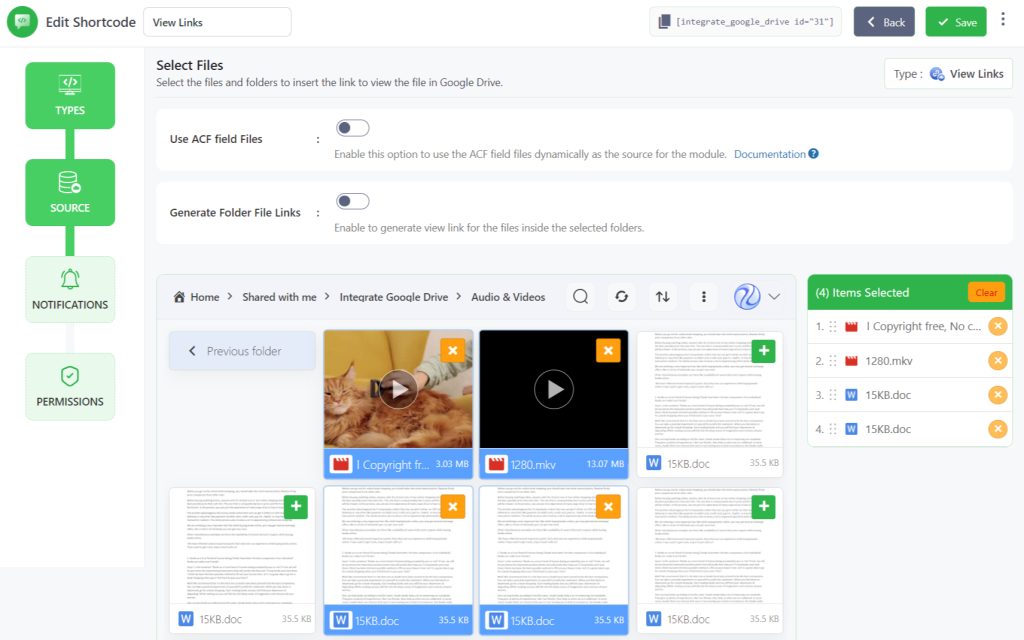
Now you will be redirected to the Source tab. Here you need to select your files from your linked Google Drive. Select your files by pressing the plus sign.
- Use ACF field Files: Enable this option to use the ACF field files dynamically as the source for the module. Enter the ACF field name in the ACF Field Key input box to use the files from the ACF field.
- Generate Folder File Links: Enable to generate download links for the files inside the selected folders. Click Next.
Step-3: Configure Notifications Tab
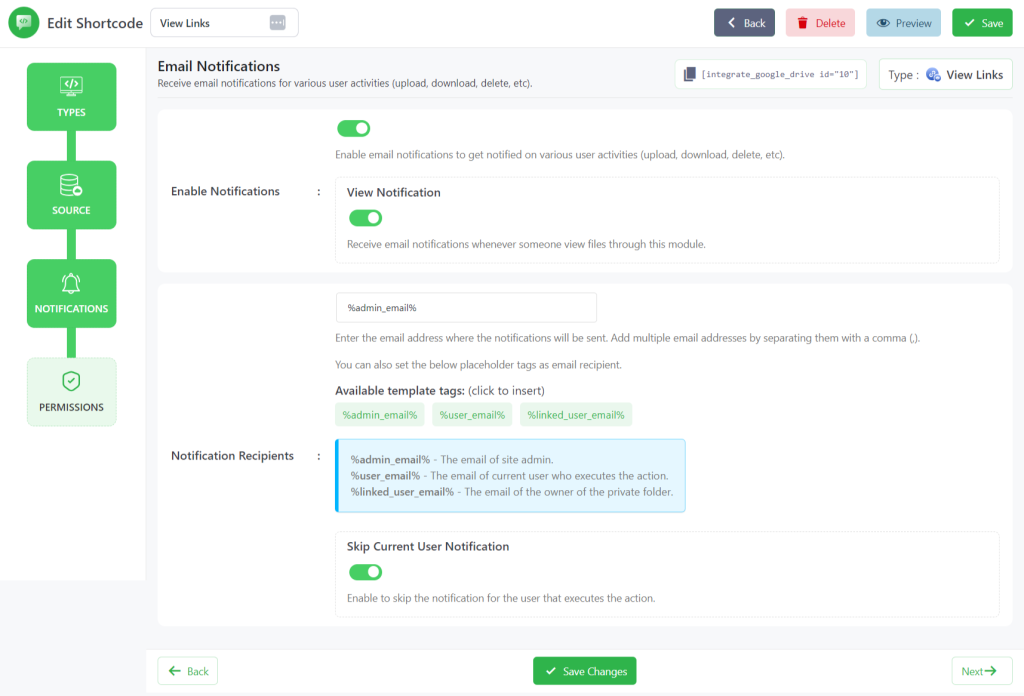
From the Notifications Tab, You can customize settings with some advanced features based on notifications. depending on what you are expecting.
- Enable Notifications: Enable email notifications to get notified on various user activities (upload, download, delete, etc).
- View Notification: Receive email notifications whenever someone views files through this module.
- Notification Recipients: Enter the email address where the notifications will be sent. Add multiple email addresses by separating them with a comma (,). You can also set the below placeholder tags as the email recipients. %admin_email% – The email of site admin. %user_email% – The email of current user who executes the action. %linked_user_email% – The email of the owner of the private folder.
- Skip Current User Notification: Enable to skip the notification for the user that executes the action.
Click Next.
Step-4: Configure Permissions Tab
Now you will be taken to the Permissions tab. Here you will mostly work on permission-related tasks for your File View Link module.
- Display for: Using this option you can allow permission of your files link downloading permission to everyone or logged-in users. You can also filter manually by user roles or any specific users.
- Show Access Denied Message: Show a message to users who don’t have access to the module. You can enter a message you want to show to users who don’t have access to the module.
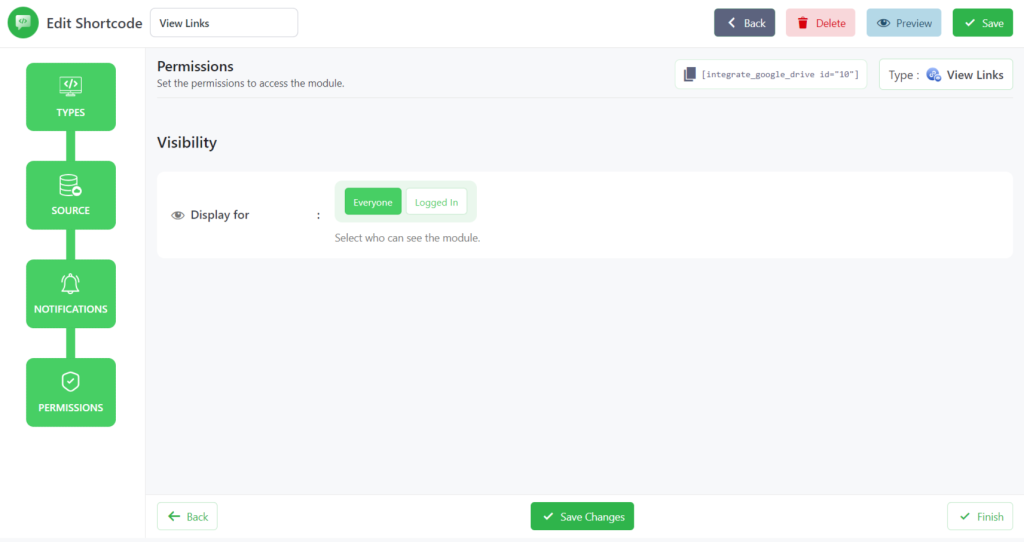
Click Save Changes and copy the shortcode from the shortcode builder page.
Now you can use the shortcode to allow users to view Google Drive file links from your WordPress Website, any posts, or pages.
Output
This is how the view links will look like once you embed them inside any of your pages or posts.
